


Wednesday, April 20, 2011
Happy Easter
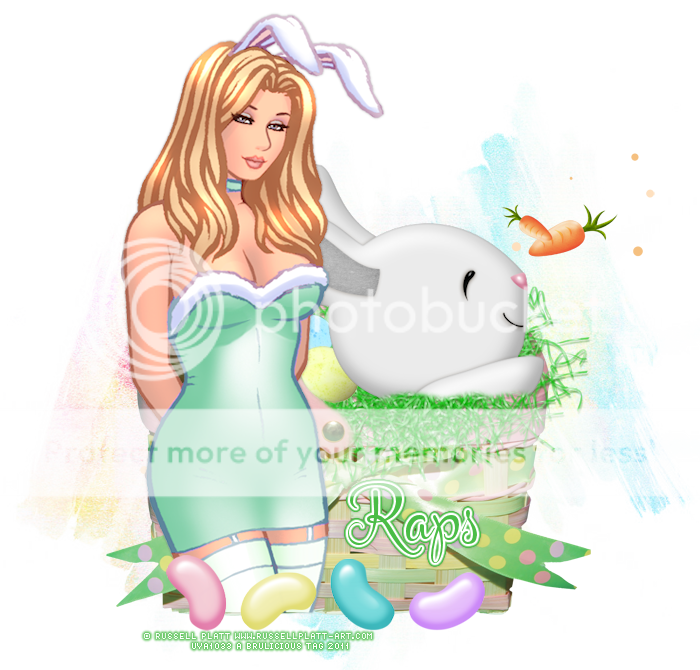
*Click the tag for a bigger view*
This tutorial was written by Brunette on April 20th 2011.
Any similarity to any other tutorial is purely coincidental.
Do not copy and paste my tutorials or claim as your own you may link to them for group challenges.
You'll need a tube of choice I am using the gorgeous art of Russell Platt you can purchase his art for tags here at Up Your Art.
While you're there be sure to check out all the other fab artists there as well!
Font of choice
Mask of choice - mine is by Vix and you can get it here on her site the one I used is Mask350.
Eye Candy 4000 - Gradient Glow
A kit of choice I am using a gorgeous Free kit by Sarah of Designs by Sarah called Peter Cottontail which was issued in this month's copy of Taggers Art magazine!
You can find it here.
Be sure to check out other freebies, contests and much more!
Ready?
Let's get started!
Ready?
Let's get started!
Open up a new canvas 700x700 we can always crop/re-size later.
From the kit open up the basket copy and paste it as a new layer. Now open up the easter green grass from the kit copy and paste it like its in the basket re-size if needed and take your eraser tool and erase where there shouldn't be any. I did the same with bunny 2 from the kit making him look like he was sitting in the basket.
Open up the eggs from the kit copy and paste them on the grass in the basket re-size them so they fit nicely in there.
I copy and pasted the carrots on the canvas and moved it to the very bottom of the platte and moved them in front of the bunny sort of to make it look like he was chasing them lol.
Copy and paste your tube as a new layer and add a drop shadow same setting shown below in the screen-shot.
I used the jellybeans from the kit for along the bottom of the basket and tube re-sizing them so they fit nicely.
Using one of the papers from the kit I used paper 9 copy and paste it as a new layer moving it to the bottom of the layer palette now add your mask. Duplicate, mirror and flip it. Arrange both masked layers to your liking.
Add your name in a font of choice with a gradient glow and a drop shadow settings shown in the screen-shot below.


Finally add your copyright and license number if applicable save as png or jpeg whichever you prefer and we're done!
I hope you enjoyed this tutorial and found it easy to follow.
Subscribe to:
Post Comments (Atom)


1 comments:
thank you SO much for featuring my FTU kit!!! :) Awesome tutorial!!!! :)
Post a Comment