Labels ♥
- AIL (4)
- AmyMarie (1)
- Angela Newman (1)
- Anna Marine (1)
- AOG (1)
- ArtisticRealityTalent (2)
- Autumn (2)
- Awards (1)
- Barbara Jensen (1)
- BCA (1)
- ByWendyG (2)
- CamillaDrakenborg (2)
- CDO (14)
- Charles Bristow (1)
- Cinnamon Scraps (1)
- Cluster Frames (2)
- Collab Tag Templates (2)
- Crowe (3)
- CuteLoot (1)
- Designs By Sarah (1)
- Ditzy Dezigns (1)
- Easter (1)
- Eclipsy. GrnIz Dezinez (2)
- Elias Chatzoudis (4)
- Enamorte (2)
- Enys Guerrero (1)
- Fall (1)
- Forum Set (1)
- Foxy Designz (3)
- Freya Langford-Sidebottom Freya Langford-Sidebottom (1)
- FTU Tags (7)
- FTU Tutorials (15)
- Gaetano Di Falco (1)
- Garv (1)
- GeminiCreationz (1)
- GothicInspirations (1)
- Gothique Starr (3)
- GraphFreaks (1)
- GrnIz Dezinez (8)
- Grunge-Glitter (1)
- Hungry Hill (2)
- Indie-Zine (1)
- Inzpired Creationz (1)
- Irish Princess Designs (1)
- Jackie's Jewels (5)
- JoseCano (1)
- Keith Garvey (4)
- KiwiFireStorm (3)
- LexisCreationz (3)
- Misc. (3)
- My Tubed Art (3)
- O'ScrapCandyShack (5)
- PFD (1)
- PFD. Wendy Gerber (2)
- PicsforDesign (3)
- Pimpin' PSPers Warehouse (1)
- Pink (1)
- PMTwS (8)
- PTE (41)
- PTU Tags (33)
- PTU Tutorials (90)
- PurplesKreationz (3)
- Rabid Designz (4)
- Rac (13)
- Ricky Fang (1)
- Robert Alvarado (1)
- Roman Zaric (1)
- Roo (2)
- Sale (1)
- Sam'sScraps (1)
- ScrappinKrazyDesigns (1)
- Scraps and the City (1)
- ScrapsNCompany (1)
- Sherri Baldy (1)
- Snags (31)
- Spring (2)
- St.Patricks Day (2)
- Steve Baier (1)
- Tag Show Off (6)
- Tag Show off using my tutorials (1)
- Tag Templates (11)
- TaggersArt (1)
- TaggersDelight (1)
- Tags (2)
- Tashas Playground (18)
- TeaserTag (1)
- The PSP Project (20)
- TheARTofGiving (1)
- TimeThief (1)
- Tony Mauro (1)
- TonyT (3)
- Toxic Desirez (1)
- Tutorials (2)
- Tyger's Tidbits (1)
- UpYourArt (15)
- ValentinesDay (1)
- Verymany (5)
- Wendy Gerber (4)
- Wicked Princess Scraps (11)
- wordart (1)
- Xketch (1)
- ZlataM (3)
Powered by Blogger.
Tuesday, September 20, 2011
Jose Cano tag and snags!
Here is a new tag using the kickass tube by Jose Cano which you can find in the new releases section of PSP Tubes Emporium snags can be found in my fotki album HERE.
Labels:
PTE
|
0
comments
FourXsDesigns tag and snags!
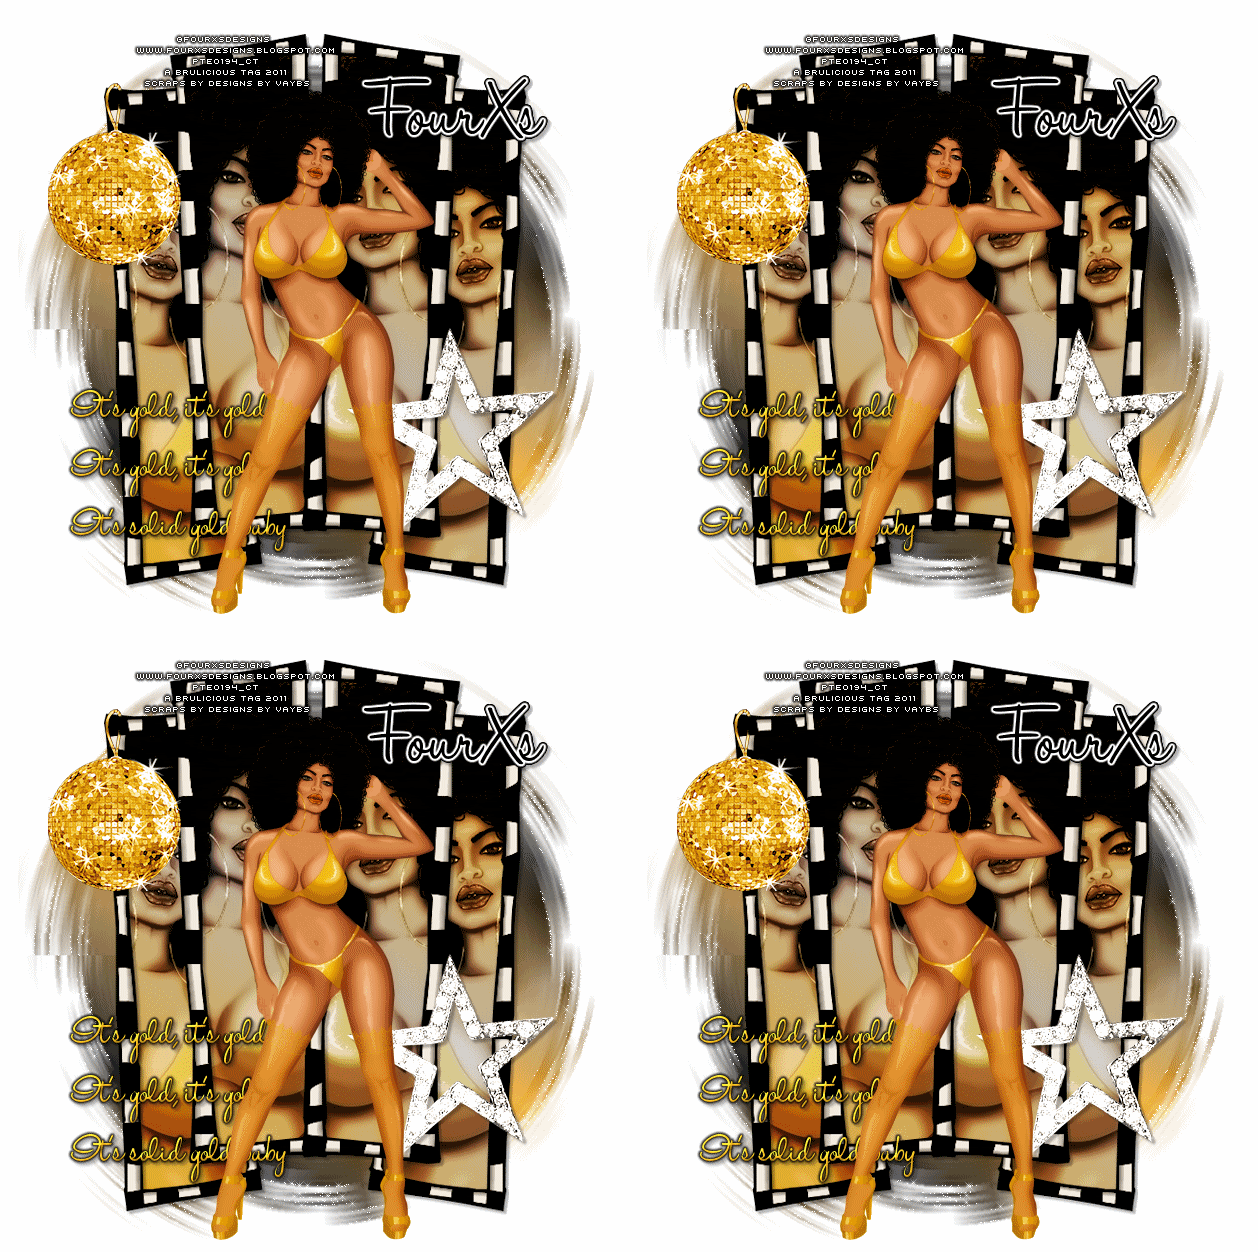
Here is a tag using a tube by FourXs Designs, I just LOVE this tube it reminds me of the movie Gold Member so I giggled when I saw this tube! This tube and many others by FourXs can be purchased at PSP Tubes Emporium snags can be found in my fotki album HERE.
Labels:
PTE
|
0
comments
Alain Viesca tag and snags!
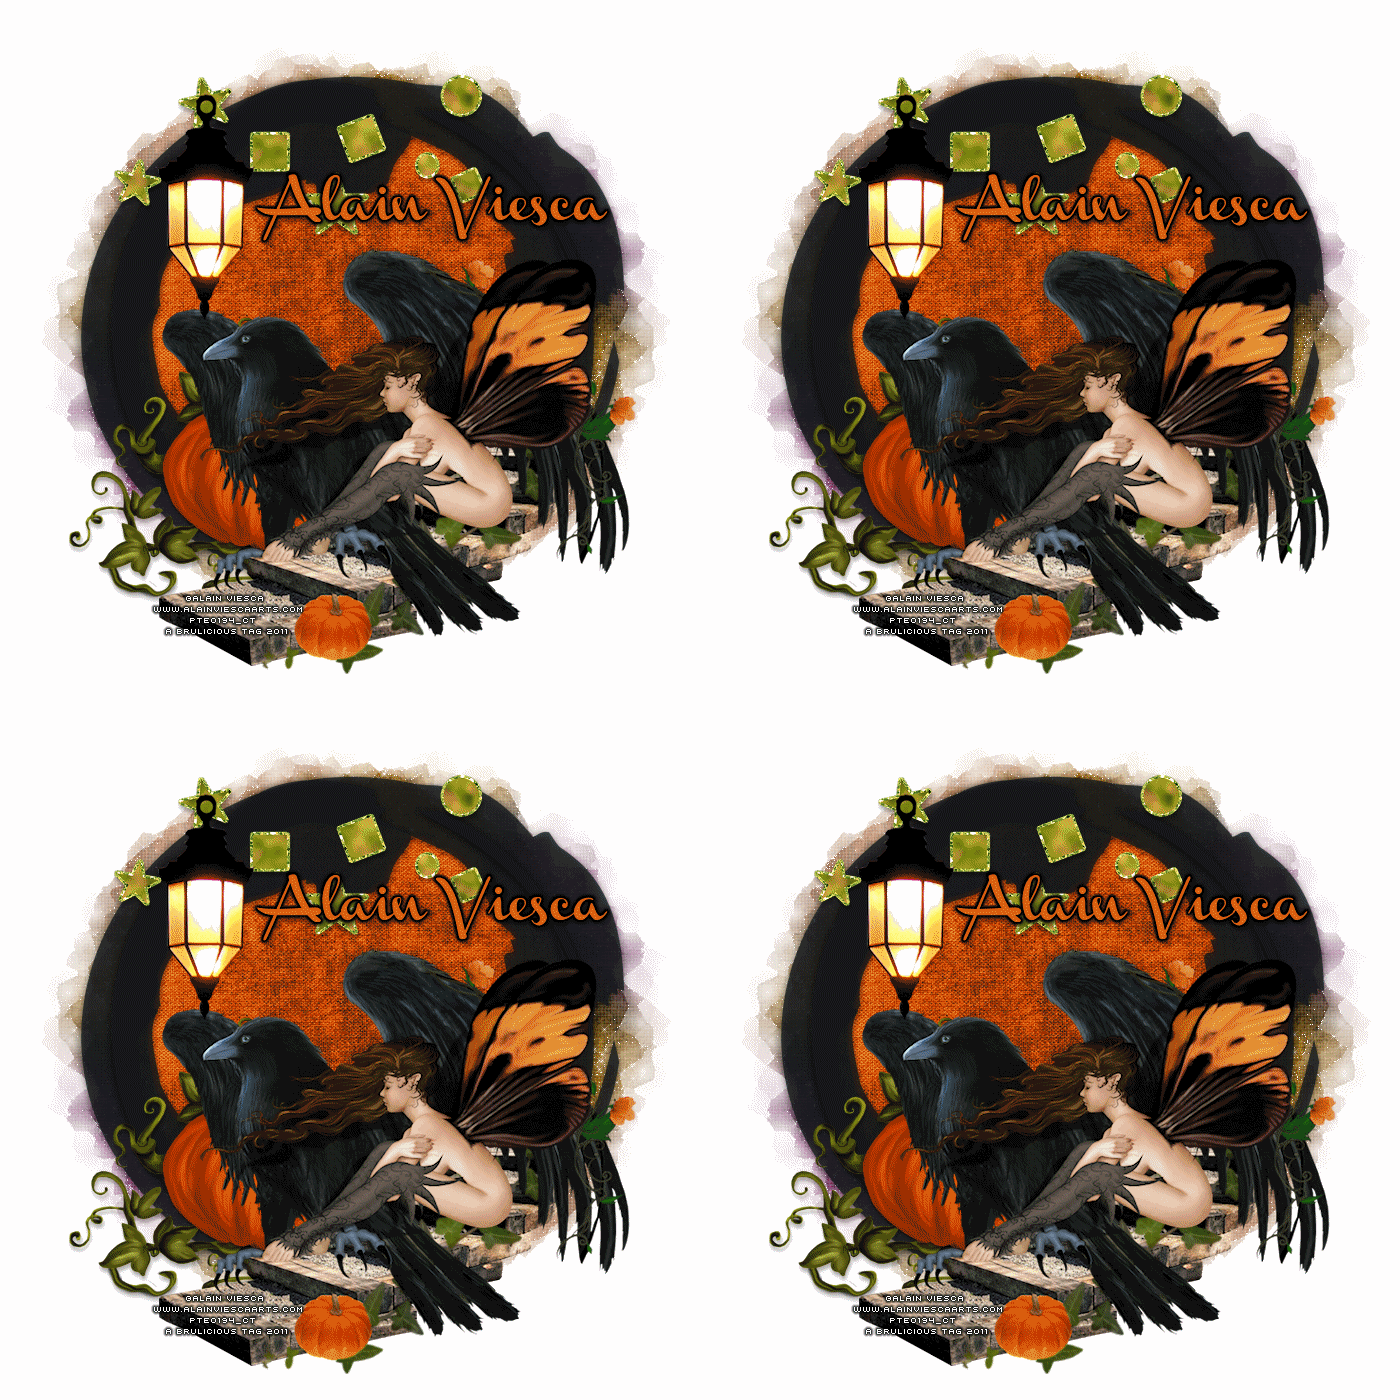
Here is a tag using the beautiful art of Alain Viesca, I just love this tube! This tube and many others by Alain can be found at PSP Tubes Emporium and snags can be found in my fotki album HERE.
Labels:
PTE
|
0
comments
Jack Anita tag and snags!
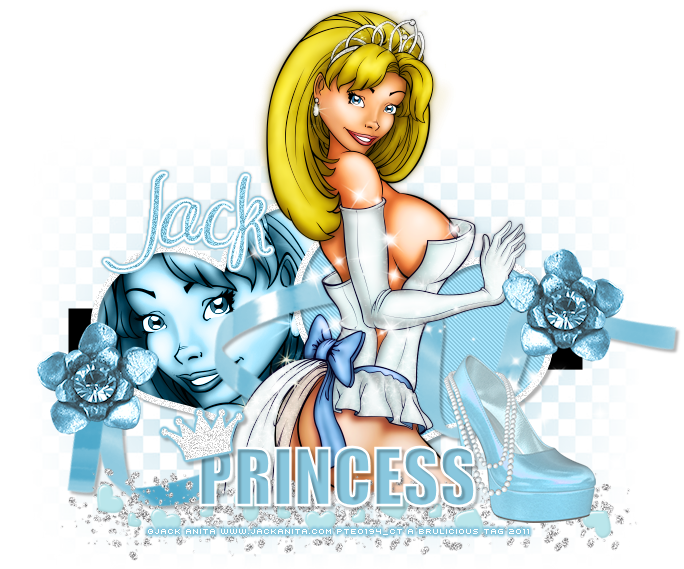
Feeling like a Princess?
Well here is a tag using this naughty princess tube by Jack Anita available at PSP Tubes Emporium and the snags can be found in my fotki album HERE.
Labels:
PTE
|
0
comments
Alicia Mujica tag and snags!
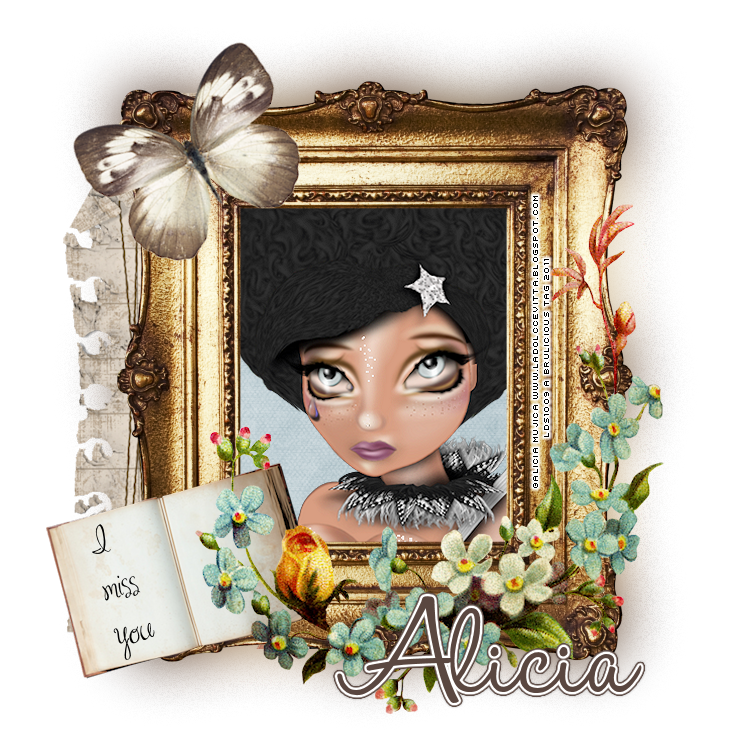
Here is a tag using the gorgeous art of Alicia Mujica which you can find here at PSP Tubes Emporium and snags can be found in my fotki album HERE.
Labels:
PTE
|
0
comments
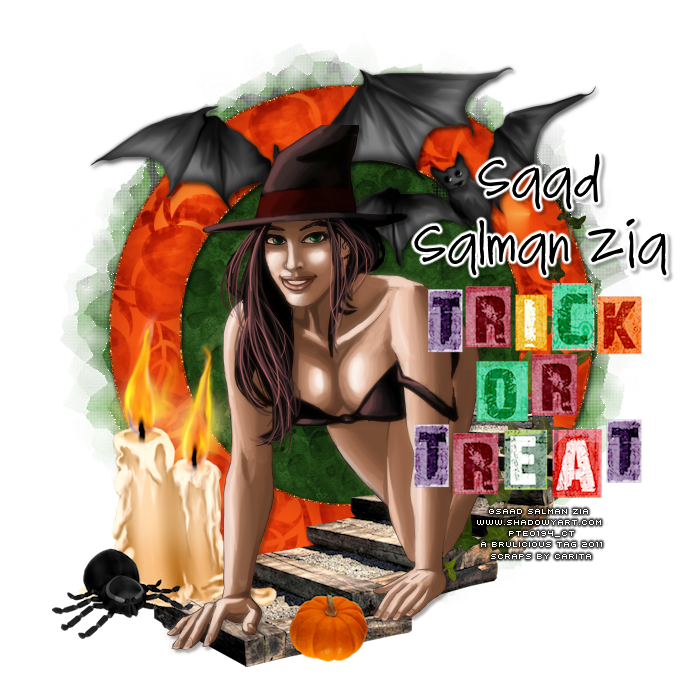
Saad Salman Zia tag and snags!
I have for you here a tag using the gorgeous art of Saad Salman Zia which you can find at PSP Tubes Emporium the snags can be found in my fotki album HERE.
Labels:
PTE
|
0
comments
Lix tag and snags!
I LOVE this tube by Lix!
You can get it at PSP Tubes Emporium and the snags can be found in my fotki album HERE.
Labels:
PTE
|
0
comments
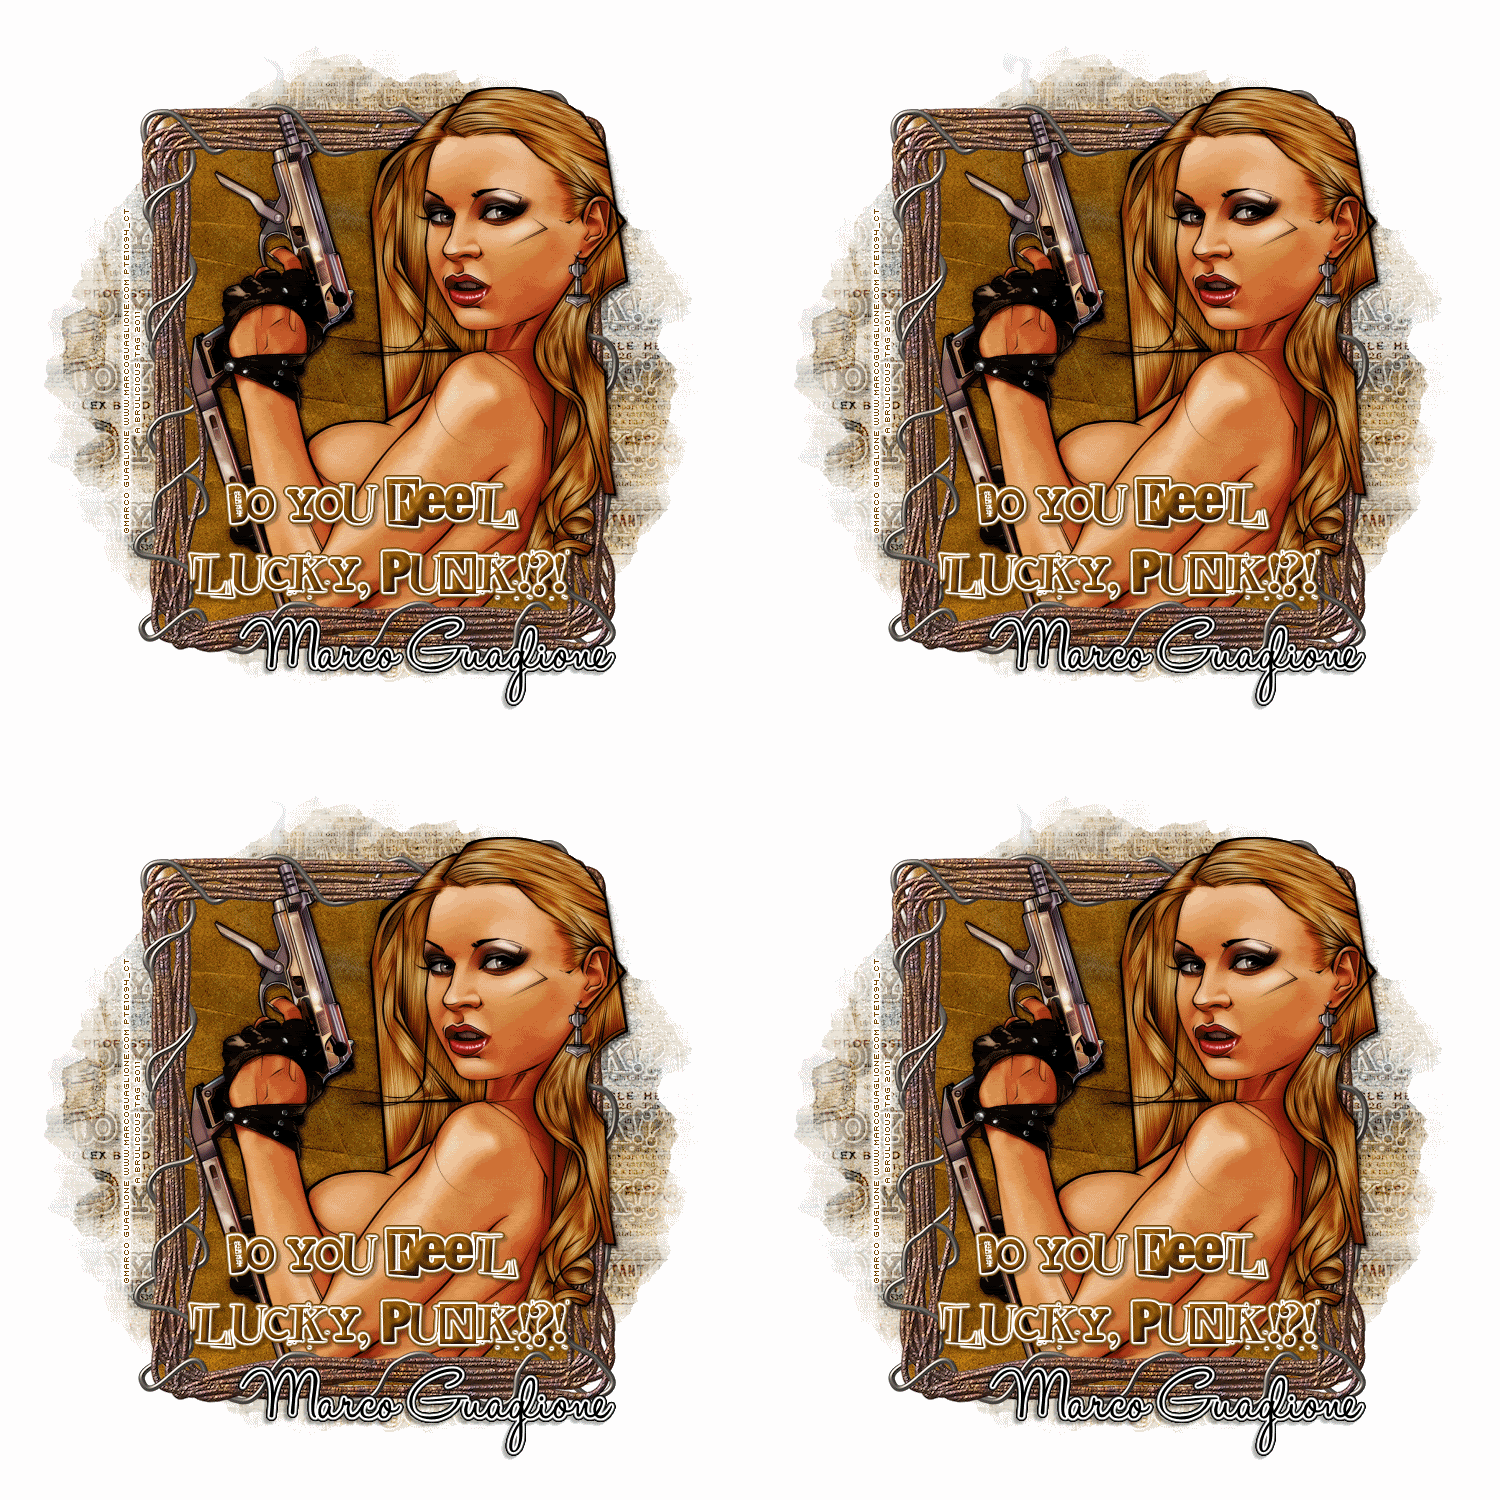
Marco Guaglione tag and snags!
Here is a tag using the awesome art Marco Guaglione available at PSP Tubes Emporium.
You can find the snags in my fokti album HERE.
Labels:
PTE
|
0
comments
Monday, September 12, 2011
New PTU Tutorial : Girl's Night
*Click the tag for full view*
This tutorial was written by Brunette on September 12th 2011.
Any similarity to any other tutorial is purely coincidental.
Do not copy and paste my tutorials or claim as your own you may link to them for group challenges.
What you'll need:
You'll need a tube of choice I am using the awesome art of Nicholas Garton Gartart Pinups . You can purchase his art for signature tags at Up Your Art HERE.
Be sure to check out all the other great artists there!
Fonts of choice - I am using a pixel font for the copyright and Aeolus for the name.
Tag Template 418 by Missy of Divine Intentionz which you can get HERE.
Fonts of choice - I am using a pixel font for the copyright and Aeolus for the name.
Tag Template 418 by Missy of Divine Intentionz which you can get HERE.
A kit of choice I am using a gorgeous kit by Brandi of Grunge & Glitter called Girl's Night Out which you can find HERE
Eye Candy - Gradient Glow
Xero - Fritillary
VM Extravaganza - Ray Transmission
Penta.com - Jeans
Ready?
Let's get started!
Open up the template by Missy shift+d to duplicate the whole then then close off the original. I also re-sized the canvas to 750x750. To do that you go to image-canvas size and then type in your numbers and hit ok.
Delete the credit layer.
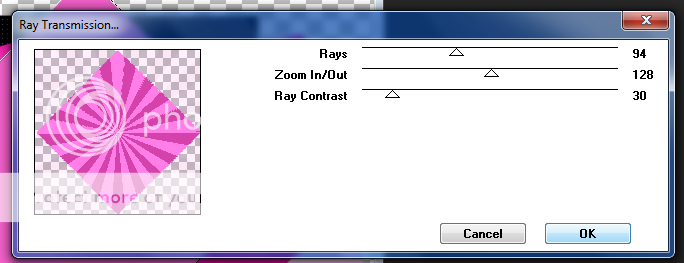
On the diamond layer selections-select all-float-defloat add a new layer and flood fill with a color of choice. DO NOT deselect yet now we're going to add the Ray Transmission settings used are shown in the screen-shot below. Then we're going to add Xero-fritillary settings used shown in the screen-shot below repeat the settings a few times. Delete the original diamond layer.
Now I took my square preset shape and drew out a square about the size of the diamond making sure that I am only using the foreground not the background on the material palette. You're going to have to rotate it and play with it a little to get it to fit right, then add some noise. Adjust-add/remove-add noise-uniform and monochrome checked and 35% the percentage.
On the left circle layer selections-select all-float-defloat copy and paste your tube as a new layer I mirrored mine so it was the other way. Arrange to your liking then go to selections-invert and hit delete. Duplicate your tube layer then go to adjust-blur-gaussian blur set to 3 and change the blend mode to screen the original tube layer set the blend mode to luminance. Repeat these steps for the right circle layer. Now once you're all done that take your preset shape tool set it to circle again only using the foreground not the background draw out a circle the same size as the one there. Repeat the noise settings above then duplicate it and mirror it so its on the other side.
Open up the city scape from the kit copy and paste it as a new layer onto your canvas making sure its behind the circle layers. Arrange it to your liking, I moved mine up a bit.
On the squares layers I merged them together then added penta.com jeans filter settings I used shown in the screen-shot below.
I closed off the other two square layers.
Open up halftone2 from the kit copy and paste it as a new layer re-size so it fits nicely making sure its below everything else. Duplicate it mirror and flip it.
Take cocktail drink 1 and martini glass 1 elements from the kit copy and paste them as a new layer onto your canvas re-size and arrange them to your liking.
Take the party flags from the kit re-size them so they fit nicely and move them up to where the city scape is make it look like they're hanging from the bulidings.
Open up your tube copy and paste it as a new layer duplicate it then go to adjust-blur-gaussian blur set to 3 and change the blend mode to screen.
Open up the Girls Night word-art from the kit copy and paste it as a new layer over your tube re-size it so it fits that area nicely I made sure mine stayed within the diamond. Then change the blend mode to screen then duplicate it.
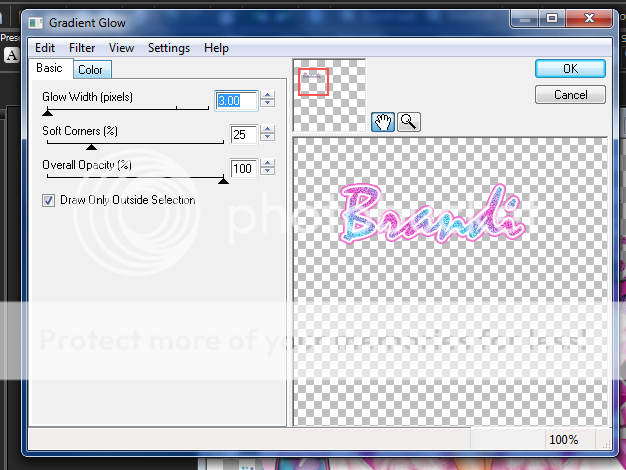
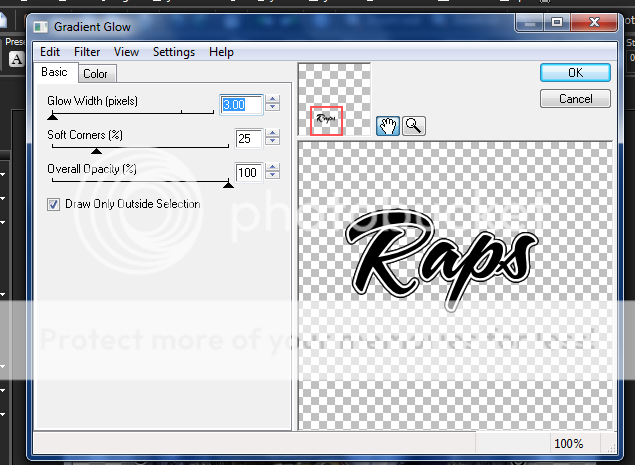
Add your name in a font of choice I used a foreground background gradient two colors from my tag. Then added a gradient glow and a drop shadow, my settings are shown in the screen-shot below.
Finally add your copyright and license number if applicable save as png or jpeg whichever you prefer and we're done!
I hope you enjoyed this tutorial and found it easy to follow.
Labels:
Grunge-Glitter,
PMTwS,
PTU Tutorials,
UpYourArt
|
0
comments
Wednesday, September 7, 2011
New PTU Tutorial - Sexy Devil
*Click the tag for full view*
This tutorial was written by Brunette on September 7th 2011.
Any similarity to any other tutorial is purely coincidental.
Do not copy and paste my tutorials or claim as your own you may link to them for group challenges.
What you'll need:
You'll need a tube of choice I am using the awesome art of Ismael Rac. You can purchase his art for signature tags at his store HERE.
Fonts of choice - I am using a pixel font for the copyright and Bauhaus 93 for the name.
Mask of choice - mine is from weescottlass creations which you can find HERE
I used mask number 219 you'll see on the right side they are bundled in bulk downloads :)
Eye Candy - Gradient Glow
For this tag I am using the HD plus pack you can get at Rac's store. You get the tube, a frame, template, a few papers and elements to make a tag. Which is exactly what I did, I love these packs!
Ready?
Let's get started!
Open up the template from the plus pack then to go image canvas size and change the width to 700 and the height to 750.
On the circle frame layer go to selections-select all-float-defloat add a new layer and flood fille with a color of choice, I used white. Then I added some noise to it you can do that by going to adjust-add/remove noise-add noise then play around with your settings, I added mine several times. Then add a drop shadow, the settings I used are the same throughout the tutorial and will be shown in a screen-shot near the bottom of the tutorial.
I deleted the flame layer.
On layer 4 of the template selections-select all-float-defloat open up a paper from the plus pack I used paper 2 then go to selection-invert and hit delete. DO NOT delselect yet open up the close up of your tube or your tube if you don't have a close up copy and paste it as a new layer and hit delete. Select none, duplicate the tube layer and mirror it arrange it in the same place but on the other side of the circle. Merge down and duplicate on the top layer go to adjust-blur-gaussian blur-3 and change the blend mode to soft light. On the original tube layer change the blend mode to screen.
I colorized the horns and tail to red you can do that by going to adjust-hue and saturation- colorize then play around with the settings to get the color you want.
I copied and pasted the cauldron and cupcake from the pack re-sized and arranged them to my liking.
Using paper 8 I copied and pasted it as a new layer moving it below everything and adding my mask then merge group.
Copy and paste your main tube as a new layer ON TOP of everything then duplicate and go to adjust-blur-gaussian blur-3 and change the blend mode to soft light. Add a drop shadow.
I wrote Sexy Devil in red in a different font and added a gradient glow and drop shadow. Then rotated it 90 degrees to the left.
Add your name in your font then add a gradient glow and drop shadow the settings I used are shown in the screen-shots below.
Finally add your copyright and license number if applicable save as png or jpeg whichever you prefer and we're done!
I hope you enjoyed this tutorial and found it easy to follow.
Labels:
PTU Tutorials,
Rac
|
1 comments
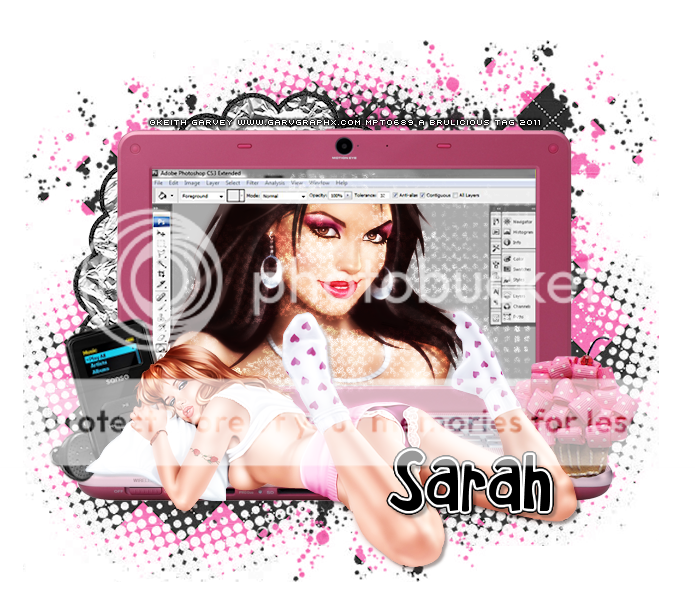
New PTU Tutorial - Sleepy
*Click the tag for full view*
This tutorial was written by Brunette on September 7th 2011.
Any similarity to any other tutorial is purely coincidental.
Do not copy and paste my tutorials or claim as your own you may link to them for group challenges.
What you'll need:
You'll need a tube of choice I am using the gorgeous art of Keith Garvey. You can purchase his art for signature tags at PSP Tubes Emporium. Be sure to check out all the other awesome artists while you're there!
Mine however were bought when he was selling at My PSP Tubes.
Fonts of choice - I am using a pixel font for the copyright and Haven't slept in two days Shadow for the name.
Mask of choice - Mine is from Brutal Designs set 5 which you can find HERE.
Eye Candy - Gradient Glow
A kit of choice I am using part of a AWESOME collab kit by the girls at Pimp my tags with Scraps which is called Girls of Pimp my tags with scraps which you can purchase HERE.
I am using Designs by Sarah's portion.
Ready?
Let's get started!
Open a 700x700 transparent canvas we can always re-size it later.
Open up the laptop from Sarah's portion of the kit copy and paste it as a new layer onto your canvas, re-size it a bit if you need to. Then take your selection tool set on rectangle and draw a rectangle around the gray part in the laptop where photoshop is open. Open up a tube of choice or tubes whichever you want, I used a close up. Copy and paste it as a new layer arrange to your liking then go to selections-invert and hit delete. Duplicate the tube then go to adjust-blur-gaussian blur set to 3 then change the blend mode to overlay. I copied and pasted the white print element from the kit over the tube layer re-size it to it fits nicely.
Next I used a different tube one copied and pasted it as a new layer mine is laying down so I moved her so she was laying on the laptop, duplicate then go to adjust-blur-gaussian blur set to 3 and change the blend mode to overlay. Add a drop shadow, the one I used throughout the tutorial is shown below in screen-shots.
Open up the MP3 player re-size it a little and move it behind your tube layer do the same with the cupcake element.
Open up frame 2 from the kit move it below the laptop move it so it shows at the top and the side a little but not too much.
Open up paper 9 from the kit copy and paste it as a new layer and move it below your laptop AND the frame you just worked with. Then apply your mask and merge group. Duplicate it then mirror and flip it.
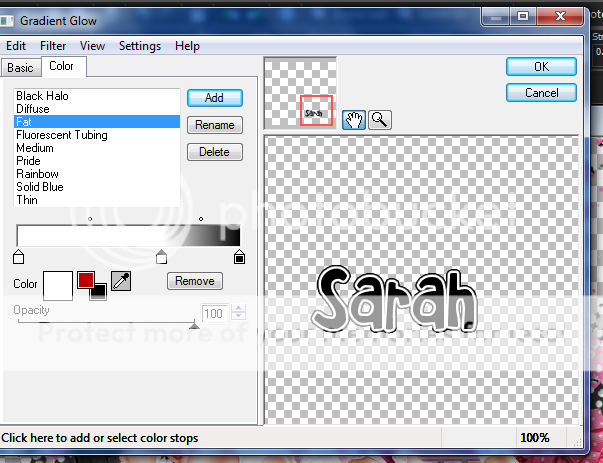
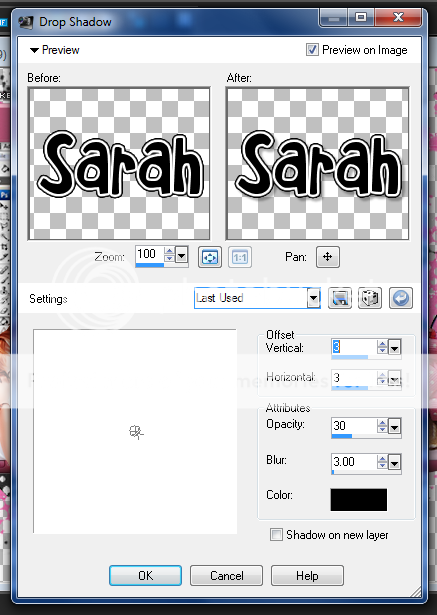
Add your name in a font of choice then add a gradient glow along with a drop shadow my settings shown below.
Finally add your copyright and license number if applicable save as png or jpeg whichever you prefer and we're done!
I hope you enjoyed this tutorial and found it easy to follow.
Labels:
PTU Tutorials
|
0
comments
New PTU Tutorial - Love Mom
*Click the tag for full view*
This tutorial was written by Brunette on September 7th 2011.
Any similarity to any other tutorial is purely coincidental.
Do not copy and paste my tutorials or claim as your own you may link to them for group challenges.
What you'll need:
You'll need a tube of choice I am using the gorgeous art of Delphine Demers. You can purchase her art for signature tags at Creative Design Outlet. Be sure to check out all the other awesome artists while you're there!
Font of choice for the copyright
A kit of choice I am using a gorgeous kit by Cinnamon Scraps called Love you Mom!
You can purchase this kit HERE.
Ready?
Let's get started!
Open a 700x700 transparent canvas we can always re-size it later.
Open up frame 1 from the kit copy and paste it as a new layer onto your canvas re-size it a little then go to image-rotate and rotate 90 degrees. Doesn't matter which way. Take your magic wand click inside the frame now open up a paper from the kit I used paper 23 copy and paste it as a new layer you can also re-size it a little if you want to show the different colors then to go selections-invert and making sure you are on the paper layer hit delete. Move this layer below the frame layer DO NOT deselect yet. Open up your tube copy and paste it as a new layer arrange it to your liking then hit delete. Make sure this layer is below the frame layer as well but above the paper layer. Select none. I duplicated my tube and went to adjust-blur-Gaussian blur set to 3 then changed the blend mode to hard light and lowered the opacity a bit.
Now I just decorated the tag a little with the butterfly on the top left of the frame and the brushes element from the kit below the frame layer duplicate it and mirror it arrange them to your liking.
Using the Alpha supplied in the kit with your freehand tool select around the letters you want to use for the name. Copy and paste them as a new layer re-size them and arrange them on the bottom of the frame. I used one of the birds from the kit to sit on the letters, you have to re-size that as well.
Finally add your copyright and license number if applicable save as png or jpeg whichever you prefer and we're done!
I hope you enjoyed this tutorial and found it easy to follow.
Labels:
PTU Tutorials
|
0
comments
Sunday, September 4, 2011
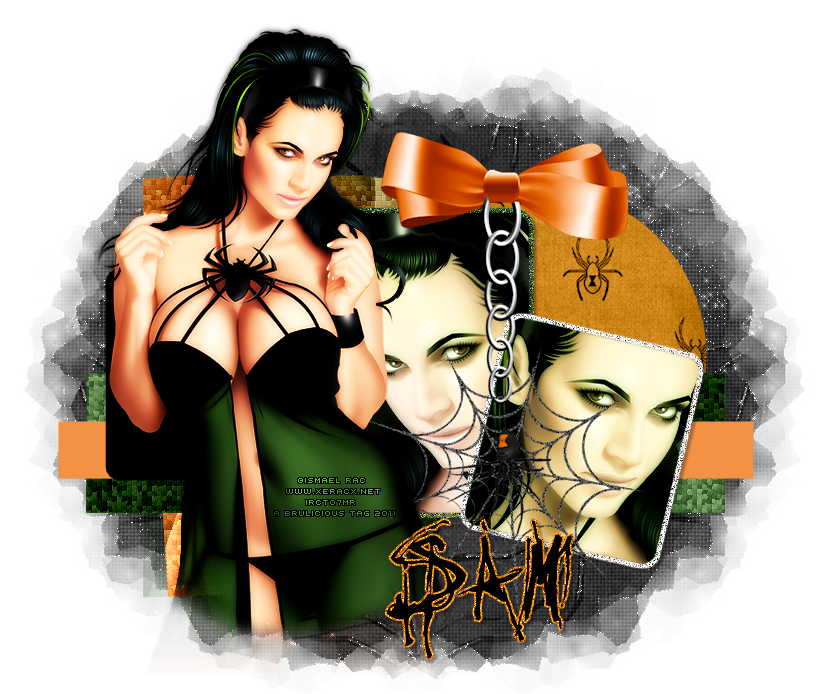
Rac CT tag!
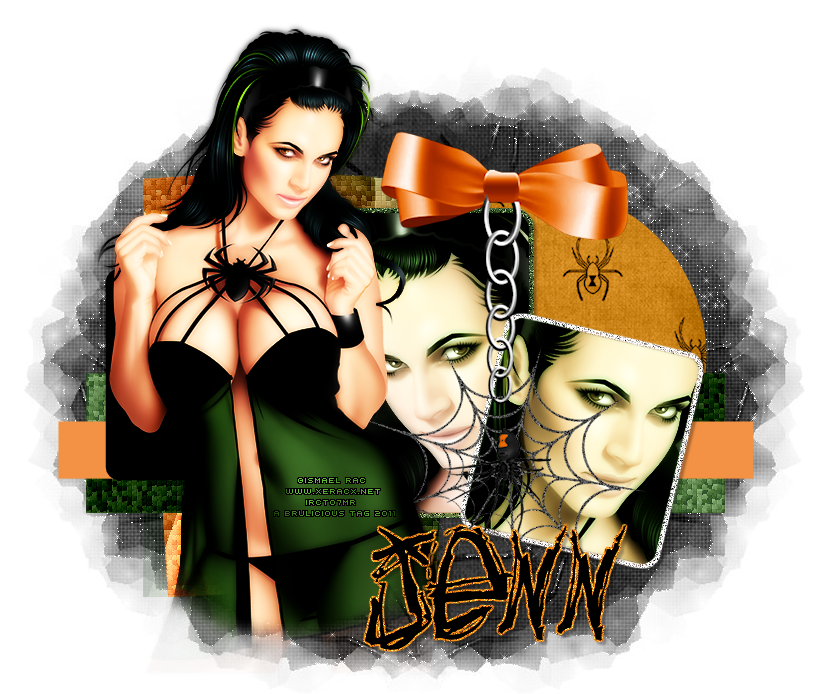
I did this tag up using the AWESOME HD plus pack they offer! I soooo love this idea!
You can find this awesome tubes and packs at the store HERE.
Here is what I came up with using Spider Queen.
*Click the tags for full view*
Labels:
Rac
|
0
comments
Friday, September 2, 2011
New FTU Tutorial - Get your motor Running
*Click the tag for full view*
This tutorial was written by Brunette on September 2nd 2011.
Any similarity to any other tutorial is purely coincidental.
Do not copy and paste my tutorials or claim as your own you may link to them for group challenges.
What you'll need:
You'll need a tube of choice I am using the fabulous art of Greg Andrews which you can purchase to use for signature tags at Up Your Art.
While you're there be sure to check out ALL the other awesome artists!
Fonts of choice - I used a pixel font for the copyright and A&S Snapper Script for the name which is a pay font.
Mask of choice - mine is from weescottlass creations which you can find HERE I used mask number 219 you'll see on the right side they are bundled in bulk downloads :)
Ready?
Let's get started!
Open a 700x700 transparent canvas we can always re-size it later.
This particular tube I am using has a few options, you have the girl with the frame and the motor, or a close up of the girl and then just the girl as well as the image all together. First we're going to pick two colors from the tube to make a foreground background gradient I used a shade of blue and black. Play around with the settings for the angle and repeats in the gradient boxes, just do what looks right to you. Add a new layer and flood fill with your gradient then copy and paste the close up of the girl as a new layer. Change the blend mode to Luminance L then add your mask and merge group. Duplicate the whole thing them mirror it. Add Xero Fritillary to each masked layer settings I used shown in the screen-shot below.
Now using your circle preset shape draw out a circle around your masked layers ONLY using the foreground as the color NOT the background or both. Draw out the circle then take your font tool place it over the circle when you see an A with a little curve under it click and type out what you want to go around the circle, I used words from a song but yours are up to you. Now look over to your layer palette there should be a little + sign where the circle layer is click that and CLOSE off the circle layer itself them convert to raster layer.
Next I copied and pasted the girl with the frame and the motor together as a new layer duplicated it then went to adjust-blur-Gaussian blur set to 3 and changed the blend mode to soft light.
Now add your name in a font of choice I used a gradient glow and added a drop shadow settings that I used for both can be found in the screen-shots below.
Finally add your copyright and license number if applicable save as png or jpeg whichever you prefer and we're done!
I hope you enjoyed this tutorial and found it easy to follow.
Labels:
FTU Tutorials
|
1 comments
Subscribe to:
Posts (Atom)
Followers
Blog Archive
-
▼
2011
(79)
-
▼
September
(15)
- Jose Cano tag and snags!
- FourXsDesigns tag and snags!
- Alain Viesca tag and snags!
- Jack Anita tag and snags!
- Alicia Mujica tag and snags!
- Saad Salman Zia tag and snags!
- Lix tag and snags!
- Marco Guaglione tag and snags!
- Rac Tag Show off
- New PTU Tutorial : Girl's Night
- New PTU Tutorial - Sexy Devil
- New PTU Tutorial - Sleepy
- New PTU Tutorial - Love Mom
- Rac CT tag!
- New FTU Tutorial - Get your motor Running
-
▼
September
(15)


