


Monday, July 30, 2012
Hot Pink

*Click the tag for full view*
This tutorial was written by Brunette on July 30th 2012.
Any similarity to any other tutorial is purely coincidental.
Do not copy and paste my tutorials or claim as your own you may link to them for group challenges.
What you'll need:
You'll need a tube of choice I am using a gorgeous tube by ZlataM which you can purchase at The PSP Project HERE.
Be sure to check out all the other great artists there!
A gorgeous kit called Hot Pink by Sam's Scraps which you can purchase HERE.
Be sure to check out ALL her other awesome kits!
Fonts of choice - I am using a pixel font for the copyright and A&S Black Swan for the name.
Tag Template from Rose's Place which you can download HERE
Make sure you leave some love when you download!
Mask of choice - mine is from Moonbeams and Spiderwebs HERE.
I used mask number 34 :)
Make sure you leave some love when you download!
A texture of choice mine is from HERE
I used the last one in the SIXTH row.
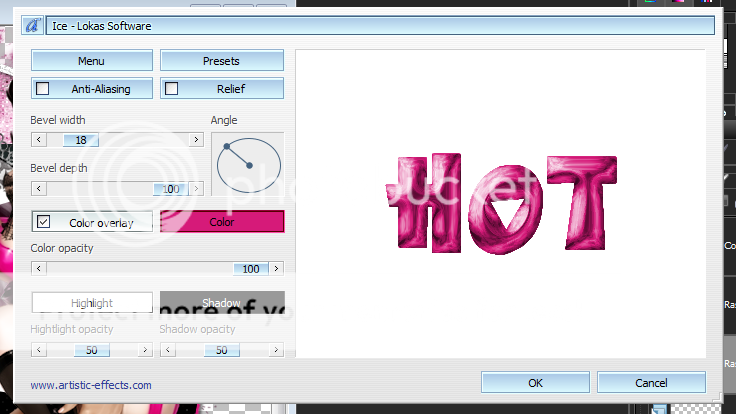
Loka's Software - Ice
Eye Candy 400 - Gradient Glow
Xero - Fritillary
Ready?
Let's get started!
Open up the template Shift+D to duplicate the whole thing now close out the original.
Loka's Software - Ice
Eye Candy 400 - Gradient Glow
Xero - Fritillary
Ready?
Let's get started!
Open up the template Shift+D to duplicate the whole thing now close out the original.
On the bottom circle layer first we're going to take our preset shapes set it to circle and a line width you like. Make sure its only the foreground color open close off the background one for now. I used the color white but its your choice. Now we're going to draw a circle around the one already there, this might take a few tries to get one that fits right trust me it does for me lol. Once you have that done add some noise by going to adjust-add/remove noise- add noise and then choose your settings. Add a drop shadow I used H 2 V 2 Opacity 60 Blur 4.00 and color black.
We're still working on that circle now go to selections-select all-float-defloat open up your texture copy and paste it as a new layer onto the circle if there is some overhanging just go to selections-invert and then hit delete. I changed the color to gray then opened up paper 16 from the kit copy and paste it as a new layer and hit delete if you have it inverted if not then you need to do that step for this part. Change the blend mode of this layer to overlay. Close off the original circle layer. I also added Xero Fritillary to the circle I just clicked random until I got a setting I liked, something small not too big.
On the blue rectangle layers merge them together then go to selections-select all-float-defloat open up a paper from the kit I used paper 1 from the kit now go to selections-invert and hit delete. Again we're going to take and draw rectangles around these shapes same as we did for the circle the only difference here is that it doesn't matter if its the right length because some of it is hidden by the other sames, but make sure you have it the right size for what you CAN see. Do the same steps for the noise and drop shadow ass we did above.
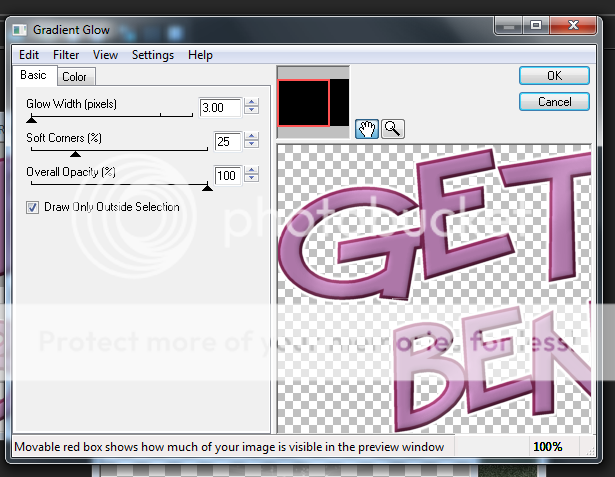
On the two pink rectangles merge them together then go to selections-select all-float-defloat add a new layer and flood fill with black, then apply the same Xero Fritillary settings as before. Add a gradient glow the settings I used are the same for the name just only in one color the sreen shot is below please refer to that. Repeat these steps for the purple rectangles but flood fill them with a different color and your gradient glow will be white. Add a drop shadow I used H 2 V 2 Opacity 60 Blur 4.00 and color black to BOTH of these layers.
On the blue star layer go to selections-select all-float-defloat add a new layer and flood fill with a color or gradient of choice I used a gradient. DO NOT deslect yet. Open up the close up of your tube or your tube if you don't have a close up copy and paste it as a new layer then go to selections-invert and hit delete. I changed the color to gray then changed the blend mode to screen duplicate it.
Add the same gradient glow and drop shadow as earlier color white to the arrows.
On your HOT word-art layer selections-select all-float-defloat add a new layer and flood fill with a color of choice then add your Lokas Software Ice my settings shown below. Duplicate this layer. Close off the original word-art layer. Add a drop shadow to the white under it I used H 2 V 2 Opacity 60 Blur 4.00 and color black.
On the stuff word-art layer go to selections-select all-float-defloat add a new layer flood fill with a color of choice I used black. Close off the original word-art layer. Then add the same drop shadow as above to the white under it.
Now we're going to decorate!
Open up the fan element from the kit copy and paste it as a new layer onto your canvas re-size it so it fits nicely and arrange it UNDER the star layer.
Open up the circle frame from the kit copy and paste it as a new layer onto your canvas re-size it a little move this layer to the bottom of your layer palette. Arrange it to one side of your tag then duplicate, mirror and flip it arrange it to the other side of your tag.
Open up paper 7 from the kit copy and paste it as a new layer onto your canvas move it below the frames you just added and apply your mask then merge group. You can re-size this layer as you see fit and arrange it to your liking.
Now we're going to add your name in a font and color of choice, then add a gradient glow my settings shown in the screen shot below as well as a drop shadow which is the same I have used throughout this tutorial.


Finally add your copyright and license number if applicable save as png or jpeg whichever you prefer and we're done!
I hope you enjoyed this tutorial and found it easy to follow.
I would LOVE to see your results to any tutorials that you do, you can email results to me or post them on my page on face-book if you have a face-book account.
Saturday, July 28, 2012
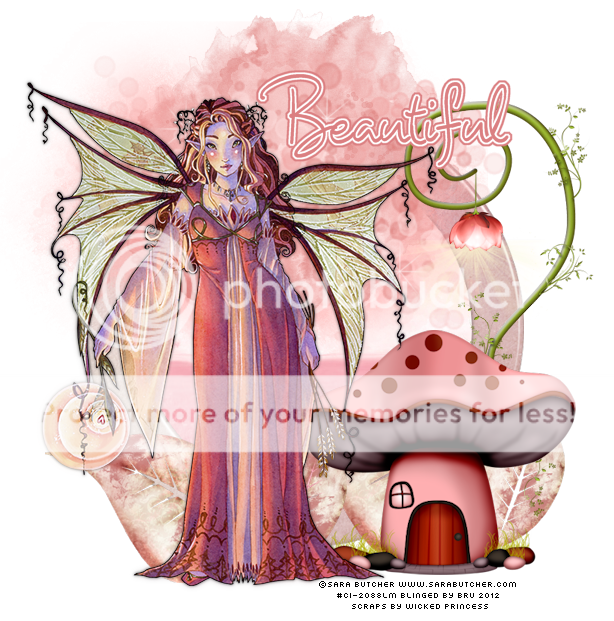
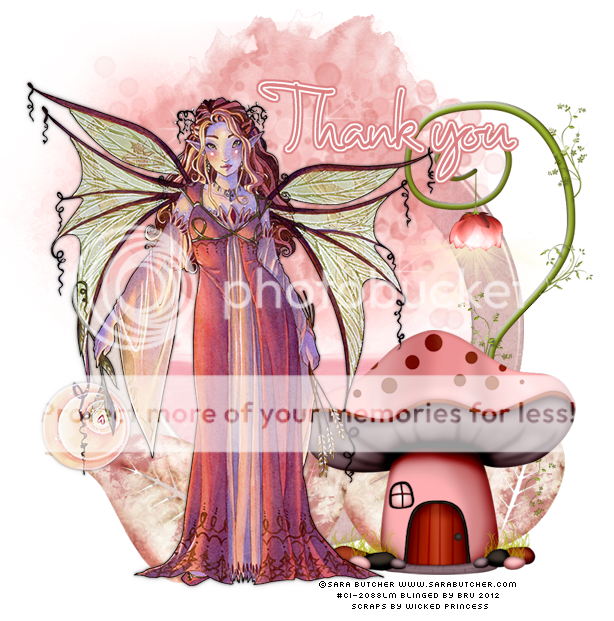
Autumn Extras
I have some snags for you using the gorgeous art of Sara Butcher which you can purchase at CDO.
Along with a GORGEOUS kit called Synclair Skully, Skull Pixie Sister by the ever talented Wicked Princess which you can purchase at Whimsical Divas. Be sure to check out ALL her other gorgeous kits while you're there!
Enjoy!
*Click the tag for full view and saving*


Wednesday, July 25, 2012
Dark Love

*Click the tag for full view*
This tutorial was written by Brunette on July 25th 2012.
Any similarity to any other tutorial is purely coincidental.
Do not copy and paste my tutorials or claim as your own you may link to them for group challenges.
What you'll need:
You'll need a tube of choice I am using a gorgeous tube by Anna Marine which you can purchase at Creative Design Outlet HERE.
Be sure to check out all the other great artists there!
An awesome kit called Darker Love by Killer Kitty Kreations which you can download HERE.
Be sure to check out ALL her other awesome kits!
Fonts of choice - I am using a pixel font for the copyright and Pirmokas for the name.
Mask of choice - mine is from Insatiable Dreams HERE.
I used mask number 434 which is mask 11 set on the page :)
Ready?
Let's get started!
Open up a 700X700 canvas, we can always re-size/crop later.
I like BIG tags LOL.
Open up the heart frame from the kit copy and paste it as a new layer onto your canvas. I copied and pasted my tube now since my tube isn't a full tube so it would depend on your tube that you use. Then I duplicated it change the blend mode to overlay and lower the opacity a little bit.
Open up paper 6 from the kit copy and paste it as a new layer onto you canvas but move it BELOW the heart frame and add your mask and merge group. Arrange this layer to your liking then duplicate and mirror it. I arranged mine so that they were both on each side of the frame.
I used the broken glass element from the kit below my tube layers re-size it so it fits nicely on your tag. I did the same with the clock element and arranged it to it was at the top left of the frame.
Take the LOVE word-art copy and paste it as a new layer near the bottom part of your frame and tube re-size it so it fits nicely.
I also used Doodle 2 from the kit and moved it below the frame layer but above the masked paper layers. Re-size it a little if you need too.
Add your name in your font and color of choice then go to selections-select all-float-defloat-modify and expand by 2 add a new layer flood fill it with white or a color of choice then add some noise by going to adjust-add/remove noise-add noise uniform checked, 50% noise and monochrome checked. DO NOT deslect yet go to modify and expand by 2 again add a new layer and flood fill with the color you used for your name move it below all the name layers and add a drop shadow.
Here are the settings I used
H 2
V 2
Opacity 60
Blur 4.00
Color Black
Finally add your copyright and license number if applicable save as png or jpeg whichever you prefer and we're done!
I hope you enjoyed this tutorial and found it easy to follow.
I would LOVE to see your results to any tutorials that you do, you can email results to me or post them on my page on face-book if you have a face-book account.
Tuesday, July 24, 2012
Get out

*Click the tag for full view*
This tutorial was written by Brunette on July 24th 2012.
Any similarity to any other tutorial is purely coincidental.
Do not copy and paste my tutorials or claim as your own you may link to them for group challenges.
What you'll need:
You'll need a tube of choice I am using an awesome tube by Jussta which you can purchase at Indie Zine HERE.
Be sure to check out all the other great artists there!
A kick-ass FREE kit called Evil Ann and Andy by Wicked Princess Scraps which you can download HERE.
Be sure to check out ALL her other awesome kits!
Fonts of choice - I am using a pixel font for the copyright and Anything You Want for the name.
Mask of choice - mine is from weescottlass creations which you can find HERE.
I used mask number 219 you'll see on the right side they are bundled in bulk downloads :)
Ready?
Let's get started!
Open up a 700X700 canvas, we can always re-size/crop later.
I like BIG tags LOL.
Open up paper 1 from the kit copy and paste it onto your blank canvas then apply your mask and merge group. Duplicate this layer. Add a new layer flood fill with white add the same mask and merge group but move this layer below the other two. This just makes the other layers a little more noticeable.
Open up the ghost element from the kit copy and paste it as a new layer make sure you're at the top of all your layers at this point. Re-size it so it fits nicely and arrange to your liking and duplicate it.
Open up the tree from the kit copy and paste it as a new layer onto your canvas re-size it and arrange it to your liking.
Now we're going to take the cemetery scene from the kit copy and paste it as a new layer near the bottom of your tag I put mine off to the side because of how my tube was made. Re-size it to your liking.
Take the bloody hand-print element from the kit re-size it so it fits on the far right dark tombstone.
Copy and paste your tube as a new layer I moved mine below the cemetery scene since its not a full tube. Duplicate this layer change the blend mode to soft light and go to adjust-blur-gaussian blur at 3.
Take the bloody get out word-art from the kit re-size it so it fits nicely on your tag rotate it to your liking. It depends on where you placed it on your tag.
Add your name in your font and color of choice then go to selections-select all-float-defloat-modify and expand by 2 add a new layer flood fill it with white or a color of choice then add some noise by going to adjust-add/remove noise-add noise uniform checked, 50% noise and monochrome checked. DO NOT deslect yet go to modify and expand by 2 again add a new layer and flood fill with the color you used for your name move it below all the name layers and add a drop shadow.
Here are the settings I used
H 2
V 2
Opacity 60
Blur 4.00
Color Black
Finally add your copyright and license number if applicable save as png or jpeg whichever you prefer and we're done!
I hope you enjoyed this tutorial and found it easy to follow.
I would LOVE to see your results to any tutorials that you do, you can email results to me or post them on my page on face-book if you have a face-book account.
Tag show off!
Just showing off a tag I did using the art of Tony Tzanoukakis called cupcake and you can purchase her at his store HERE
Please be sure to check his art out!

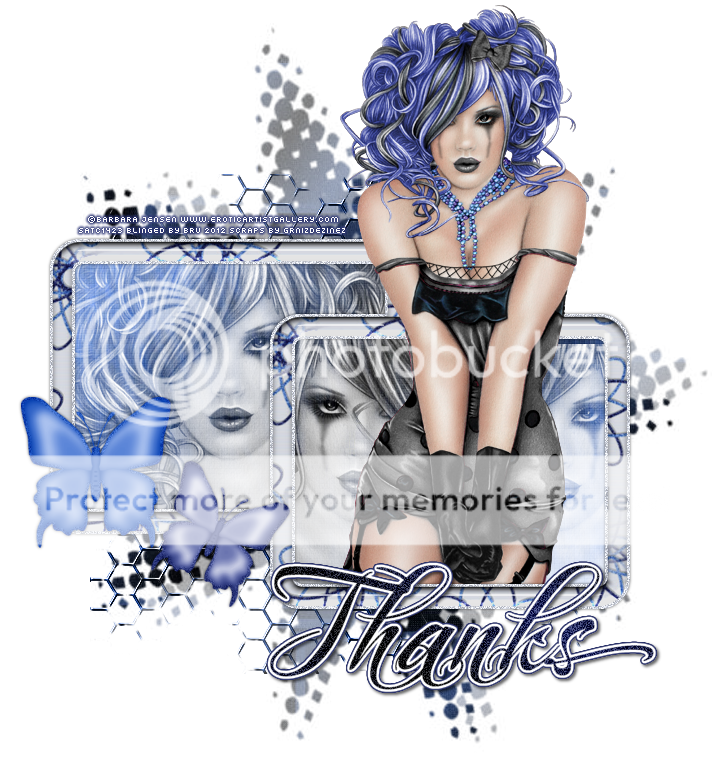
Bluetiful Snags!
I have snags for you today using a gorgeous kit by GrnIzDezinez called Bluetiful.
You can purchase this kit HERE
Enjoy!
*Click the tag for full view and saving*


Saturday, July 7, 2012
Get Bent!

*Click the tag for full view*
This tutorial was written by Brunette on July 7th 2012.
Any similarity to any other tutorial is purely coincidental.
Do not copy and paste my tutorials or claim as your own you may link to them for group challenges.
What you'll need:
You'll need a tube of choice I am using a gorgeous tube by Gothique Starr which you can purchase at The PSP Project HERE.
Be sure to check out all the other great artists there!
An awesome kit by Roo called Get Bent. You can purchase this kit at The PSP Project HERE.
Be sure to check out ALL her other awesome kits!
Fonts of choice - I am using a pixel font for the copyright and Calvin and Hobbes for the name.
Xero -Fritillary
Eye Candy 4000 - Gradient Glow
Ready?
Let's get started!
Open up a 700X700 canvas, we can always re-size/crop later.
I like BIG tags LOL.
Open up element 27 from the kit which is a frame copy and paste it as a new layer onto your canvas, re-size it a little if it doesn't fit how you like. Now open up two papers of choice I used paper 9 and 10. Copy and paste one paper I used paper 9 move it below the frame now take your eraser tool and erase all the paper outside of the inner circle of the frame. Now do the same thing with the other paper but make sure its in the second circle in the frame and erase everywhere else. Then apply Xero-Fritillary to both paper layers, just play around with your settings until you get something you like, I just hit random a bunch of times until I liked what I had.
Next open up element 43 copy and paste it onto the first paper you did re-size it if you need to.
Open up element 5 which is a CUTE cupcake, copy and paste it as a new layer and place it to the bottom left of the tag re-size it so it fits nicely.
Open up the Get Bent word-art copy and paste it onto your canvas arrange and re-size it to your liking and add a gradient glow and a drop shadow. My settings shown below.

H 2
V 2
Opacity 60
Blur 4.00
Color: Black
Open up element one which is a skull bat copy and paste it as a new layer onto your canvas re-size it and place it near the top right of your frame.
I also used element 29 which is gorgeous scatterd sparkles of some sort lol copy and paste them as a new layer re-size them so they fit nicely move them BELOW the frame layer arrange them to one side of the tag duplicate and mirror.
Copy and paste your tube as a new layer duplicate your tube and change the blend mode to soft light lower the opacity to 63 aslo add a gaussian blur of 3.00. You can find that under adjust-blur in the psp tools.
Add your name in your font and color of choice then go to selections-select all-float-defloat-modify and expand by 2 add a new layer flood fill it with white or a color of choice then add some noise by going to adjust-add/remove noise-add noise uniform checked, 35% noise and monochrome checked. DO NOT deslect yet go to modify and expand by 2 again add a new layer and flood fill with the color you used for your name move it below all the name layers and add a drop shadow.
Here are the settings I used
H 2
V 2
Opacity 60
Blur 4.00
Color Black
Finally add your copyright and license number if applicable save as png or jpeg whichever you prefer and we're done!
I hope you enjoyed this tutorial and found it easy to follow.
I would LOVE to see your results to any tutorials that you do, you can email results to me or post them on my page on facebook if you have a facebook account.
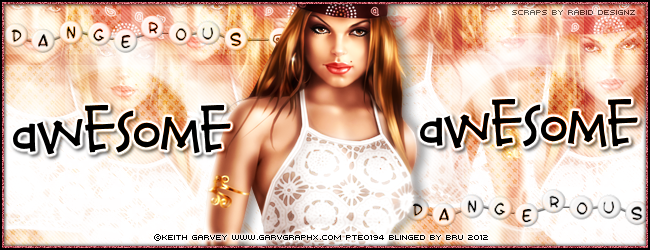
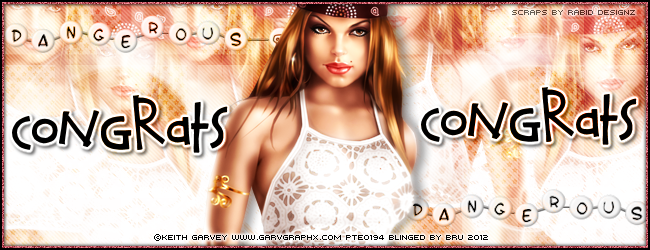
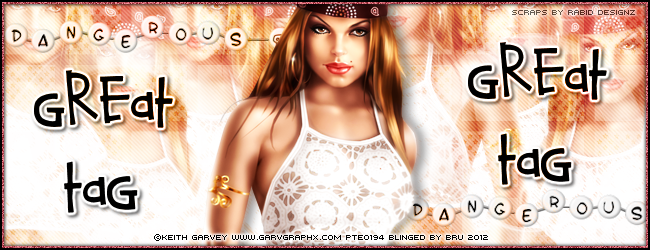
Chola Beauty Snags!
Today I have some snags for you using the art of Keith Garvey which you can purchase at PSP Tubes Emporium and a gorgeous taggers kit by Rabid Designz called Chola Beauty you can find out where to purchase this kit on her blog HERE.
Enjoy!
*Click the tag for FULL view AND saving*


Wednesday, July 4, 2012
Cute Freedom Rac Snags!
I have some Rac snags for you today!
I used the Cute Freedom HD Plus package which you can purchase HERE.
Enjoy and remember to save them to YOUR computer for using!
*Click the tag for full view*


Arthur Crowe Snags!
I have some snags for you today using an Arthur Crowe tube along with a matching kit.
The tube and kit are named Stars and you can purchase them HERE.
Enjoy and remember to save them to YOUR computer.
*Click the tag for FULL view*


Subscribe to:
Posts (Atom)


