


Sunday, May 30, 2010
♥ Kinky Witch ♥
Kinky Witch

This tutorial was written by Brunette on May 30th 2010. Any similarity to any other tutorial is purely coincidental.
Do not copy and paste my tutorials or claim as your own you may link to them for group challenges.
You'll need a tube of choice I am using the gorgeous art of Keith Garvey you can purchase his art to use for tags at MPT.
Eye Candy 4000 (optional)
Font of choice
Mask of Choice
A kit of choice I am using a beautiful kit from Cora over at Pimp my tags with Scraps called Tabitha.
Open a new transparent canvas 700x700 you can always re-size layer.
Open up Frame 3 from the kit with your magic wand click inside the squares then selections-modify-expand by 4. Open up paper 8 paste as a new layer selections-invert and hit delete DO NOT deselect yet. The tube I am using comes with a closeup copy and paste your tube in the squares different parts for different squares. Delete what over hangs out of the frame or into another square. Hide everything but your tubes in the squares and merge visible then duplicate then go to adjust-blur-Gaussian blur set at 3.00 change the blend mode to overlay and the original layer to Luminance L. Now unhide everything.
I wrote kinky witch in different places on the tag you can do this or not its up do you. I added a gradient glow that I will show in a screen shot a few steps down and a drop shadow.
Open up ribbon 10 from the kit paste it as a new layer make sure its on top of all the other layers, re-size so it fits over the squares and its not over hanging too much. Then open up the staple re-size it so it fits nicely over the ribbon rotate it so it looks like its holding the ribbon on the frame. Do the same with the other side.
Copy and paste your tube as a new layer duplicate it then go to adjust-blur-Gaussian blur set at 3.00 change the blend mode to soft light and add a drop shadow to the original tube layer.
Open up paper 4 paste it as a new layer but move it all the way to the bottom in the layer palette. Add a mask of choice.
Add your name in a font of choice I added some noise to it which is shown in the screen shot below as well as the gradient glow I used, then add a drop shadow.


Add your copyright and license number if applicable save as png or jpeg whichever you prefer and we're done!
I hope you enjoyed this tutorial and found it easy to follow.
Monday, May 24, 2010
New Tag Template
Listening to music again with PSP open LOL so here you go for your tagging pleasure!
You can get it here.

Monday, May 17, 2010
Another New Tag Template
Another new template this is what happens when you listen to music with PSP open LOL.
You can get it here.

New Tag Template
Aqua from Creative Misfits gave me an idea for a tag template so here it is for your tagging pleasure that's if you find it tag worthy lmao.
You can download it here.

Monday, May 10, 2010
♥ Good Girl ♥
Good Girl
This tutorial was written by Brunette on May 10th 2010. Any similarity to any other tutorial is purely coincidental.
Do not copy and paste my tutorials or claim as your own you may link to them for group challenges.
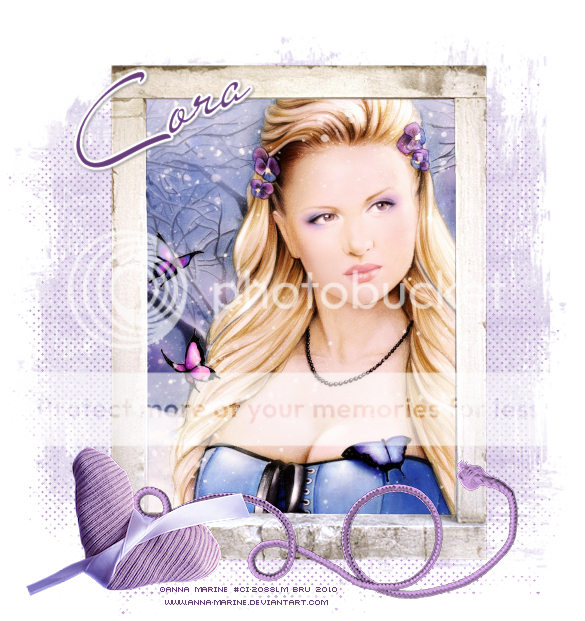
You'll need a tube or image of choice I am using the gorgeous art of Anna Marine you can purchase her art to use for tags at CILM.
Eye Candy 4000 (optional)
Mura Meister's Tone
Mask of choice
Font of choice
A kit of choice I am using a beautiful kit from Cora over at Pimp my Tags with Scraps called Good Girl.
Ready? Let's get started!
New canvas 700x700 you can re-size it later.
Open up frame 2 from the kit copy and paste it as a new layer on your canvas.
Open up your image or tube paste it as a new layer move it below the frame use your eraser tool to erase what hangs over the frame.
Open up Paper 4 paste as a new layer under the frame layer use mura meister's tone with the following settings in the screen shot below. Make sure to change the FG color to a little bit of a darker color so it shows up better. Then apply your mask and merge group.

Open ribbon 4 from the kit copy and paste it as a new layer above all the other layers and re-size as needed. I placed it at the bottom of my frame then added the heart from the kit re-size that as needed as well.
Now just add your name in a font of choice and use Eye Candy 4000 gradient glow if you choose and a drop shadow.
Crop your tag or re-size to the size you want.
Add your copyright and license number if applicable save as png or jpeg whichever you prefer and we're done!
I hope you enjoyed this tutorial and found it easy to follow.
Subscribe to:
Posts (Atom)


