


Thursday, February 28, 2013
Anna Marine Snags!
Tonight I have some snags for you using a gorgeous tube by Anna Marine which you can purchase at Creative Design Outlet HERE. Along with a simply gorgeous kit by Tyger's Tidbits called Walking on Air which you find out how to purchase by going to her blog HERE
Enjoy!
*Please click the tag for full view*
Please do not alter or claim them as your own.
Please save them to YOUR own computer for use.
Thank you!


Wednesday, February 20, 2013
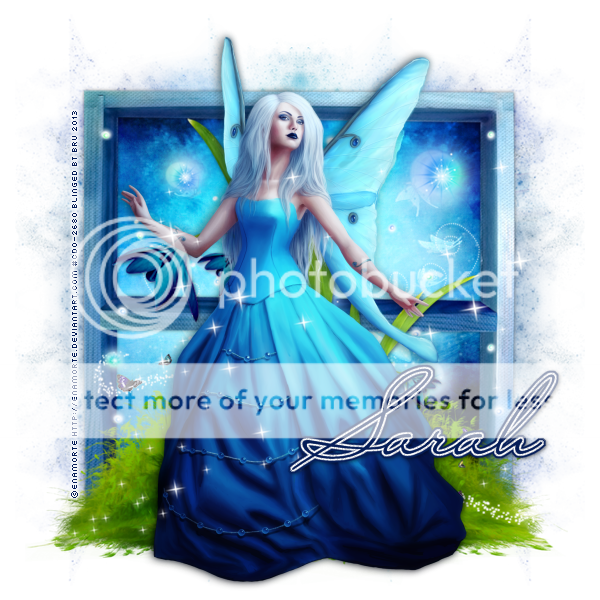
Dreaming
*Click the tag for full view*
This tutorial was written by Brunette on February 20th 2013.
Any similarity to any other tutorial is purely coincidental.
Do not copy and paste my tutorials or claim as your own you may link to them for group challenges.
What you'll need:
You'll need a tube of choice I am using a gorgeous tube by Enamorte. Which you can purchase at Creative Design Outlet HERE.
A gorgeous PTU kit by Designs by Sarah called Dreaming.
Which you can find purchase at Pimp My Tags With Scraps HERE.
Lokas Software 3D Shadow
Mask of choice - mine is from Gems Taggin' Scraps which you can find HERE.
I used mask number 143.
Leave some love when you download!
Fonts of choice - I am using a pixel font for the copyright and Mr Sheffield for the name.
Ready?
Let's get started!
Open a 600x600 transparent canvas.
Open up frame 4 from the kit copy and paste it as a new layer onto your canvas and re-size it to fit nicely. Now take your image if you have one the came with the tube if not skip this step. Copy and paste your image move it below the frame layer then take your eraser tool and erase what hangs over. Open up paper 12 from the kit and do the same thing change the blend mode to hard light. Add a drop shadow to your frame layer I used H 0 V 0 Opacity 50 Blur 5.00 Color black.
Open up the grass element copy and paste it as a new layer re-size it so it fits nicely and move it to the bottom of the frame.
Open up the dreaming light 2 element copy and paste it as a new layer re-size it so it fits nicely and arrange to your liking.
Open up flower 8 copy and paste it as a new layer mirror it then re-size it so it fits nicely and arrange it to your liking.
Copy and paste your tube as a new layer arrange it to your liking then duplicate it and change the blend mode to soft light then go to adjust-blur-gauassian blur 3. Add Lokas Software 3D shadow to the bottom tube layer my settings are shown in the screen-shot below.

Open up sparkles 1 element copy and paste it as a new layer re-size it to so it fits nicely and arrange to your liking. I put mine over the top tube layer.
Open up paper 11 from the kit copy and paste it as a new layer arrange it so its below the frame layer then apply your mask and merge group.
Now in a font and color of choice add your name in a color of choice then go to selections-select all-float-defloat-modify and expand by 2 then add a new layer and flood fill with a color of choice then go to selections-modify and expand by 2 again add a new layer and flood fill with the same color you typed out your name in. Arrange that layer below everything other font layer and add a drop shadow I used H 1 V 1 Opacity 50 Blur 5.00 Color Black.
I hope you enjoyed this tutorial and found it easy to follow.
I would LOVE to see your results to any tutorials that you do, you can email results to me or post them on my page on facebook if you have a facebook account.
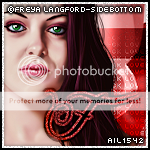
F*ck Love!

*Click the tag for full view*
This tutorial was written by Brunette on February 20th 2013.
Any similarity to any other tutorial is purely coincidental.
Do not copy and paste my tutorials or claim as your own you may link to them for group challenges.
What you'll need:
You'll need a tube of choice I am using a gorgeous tube by Freya Langford-Sidebottom. Which you can purchase at Artistically Inclined Licensing HERE.
A gorgeous PTU kit by Purple's Kreationz called Stupid Cupid which you can find purchase at Artistically Inclined Licensing HERE.
Mura's Meister - Copies
Mask of choice
Fonts of choice - I am using a pixel font for the copyright and Jellyka Delicious Cakefor the name.
Ready?
Let's get started!
Open a new canvas 650 x 250.
Copy and paste your tube as a new layer arrange it to your liking on your canvas duplicate it and do the same. Continue until the canvas is covered then merge them together. Gray scale your layer then duplicate it and change the blend mode to soft light. Open up paper one from the kit copy and paste it as a new layer and move it below the original tube layer and change the blend mode of that tube layer to Luminance L.
Now open up paper 3 copy and paste it over the top tube layer and change the blend mode to soft light.
Open up the metal heart and the broken heart elements copy and paste them as new layers re-size them to your liking as well as arrange them to your liking. Then change the blend mode to screen for the broken heart element and Luminance L for the metal heart. Open up the skulls element re-size them to your liking and place them to either side of the bottom of the tag duplicate and mirror.
Copy and paste your main tube as a new layer arrange it to your liking then duplicate and go to adjust-blur-gaussian blur set to 3 and change the blend mode to soft light.
Now in a pixel font type out words I used F*ck love! for mine then center it in the canvas by going to objects-align-center in canvas then convert to raster. Now go to Mura's Meister copies and use my settings shown in the screen-shot below. Then apply a mask of choice and merge group. Change the blend mode to softlight and move it so its inbetween the tube layers that cover the canvas then duplicate it.

Now we're going to do the borders. Go to the very bottom layer of your canvas it should be blank click it then go to selections-modify-contract by 4 then invert add a new layer flood fill with a color of choice then add some noise if you like. Arrange this layer so its at the top of your layers. Repeat these steps but change the number you contract by to 2. Add a drop shadow to the first border layer I used H 0 V 0 Opacity 50 Blur 5.00 Color black.
Now in a font and color of choice add your name in a color of choice then go to selections-select all-float-defloat-modify and expand by 2 then add a new layer and flood fill with a color of choice then go to selections-modify and expand by 2 again add a new layer and flood fill with the same color you typed out your name in. Arrange that layer below everything other font layer and add a drop shadow I used H 1 V 1 Opacity 50 Blur 5.00 Color Black.
Now for the avatar all I did was open up a new canvas 150x150 closed off the border layers and copyright layers on my banner then copy merged and pasted it as a new layer on the 150x150 canvas. Arrange it to your liking even re-size it a little if you want. Then again go to the bottom layer then go to selections-modify-contract by 5 then invert add a new layer and flood fill with the same color as you did on the banner. Arrange this layer so its at the top of your layers. Repeat these steps but change the number you contract by to 2. Add a drop shadow to the first border layer I used H 0 V 0 Opacity 50 Blur 5.00 Color black.
Of course add your name or the first letter of your name it your full name won't fit then be sure to add your copyright info to your avatar as well.
I hope you enjoyed this tutorial and found it easy to follow.
I would LOVE to see your results to any tutorials that you do, you can email results to me or post them on my page on facebook if you have a facebook account.
Subscribe to:
Posts (Atom)


