


Friday, September 2, 2011
New FTU Tutorial - Get your motor Running

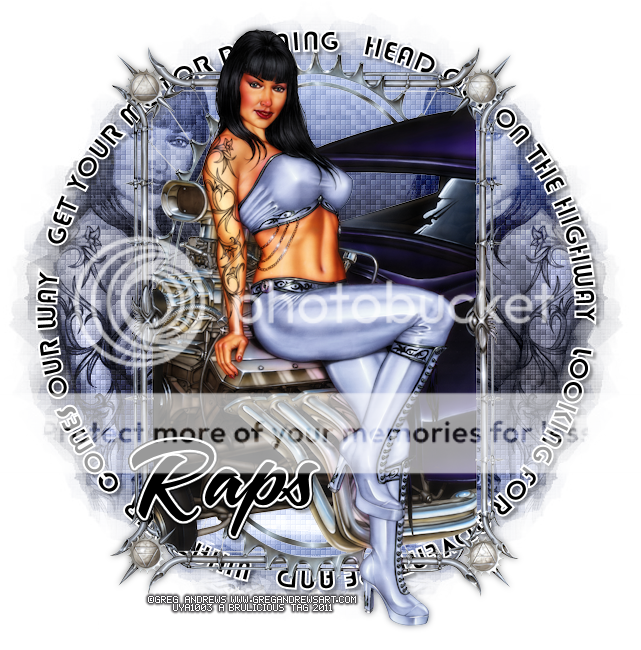
*Click the tag for full view*
This tutorial was written by Brunette on September 2nd 2011.
Any similarity to any other tutorial is purely coincidental.
Do not copy and paste my tutorials or claim as your own you may link to them for group challenges.
What you'll need:
You'll need a tube of choice I am using the fabulous art of Greg Andrews which you can purchase to use for signature tags at Up Your Art.
While you're there be sure to check out ALL the other awesome artists!
Fonts of choice - I used a pixel font for the copyright and A&S Snapper Script for the name which is a pay font.
Mask of choice - mine is from weescottlass creations which you can find HERE I used mask number 219 you'll see on the right side they are bundled in bulk downloads :)
Ready?
Let's get started!
Open a 700x700 transparent canvas we can always re-size it later.
This particular tube I am using has a few options, you have the girl with the frame and the motor, or a close up of the girl and then just the girl as well as the image all together. First we're going to pick two colors from the tube to make a foreground background gradient I used a shade of blue and black. Play around with the settings for the angle and repeats in the gradient boxes, just do what looks right to you. Add a new layer and flood fill with your gradient then copy and paste the close up of the girl as a new layer. Change the blend mode to Luminance L then add your mask and merge group. Duplicate the whole thing them mirror it. Add Xero Fritillary to each masked layer settings I used shown in the screen-shot below.

Now using your circle preset shape draw out a circle around your masked layers ONLY using the foreground as the color NOT the background or both. Draw out the circle then take your font tool place it over the circle when you see an A with a little curve under it click and type out what you want to go around the circle, I used words from a song but yours are up to you. Now look over to your layer palette there should be a little + sign where the circle layer is click that and CLOSE off the circle layer itself them convert to raster layer.
Next I copied and pasted the girl with the frame and the motor together as a new layer duplicated it then went to adjust-blur-Gaussian blur set to 3 and changed the blend mode to soft light.
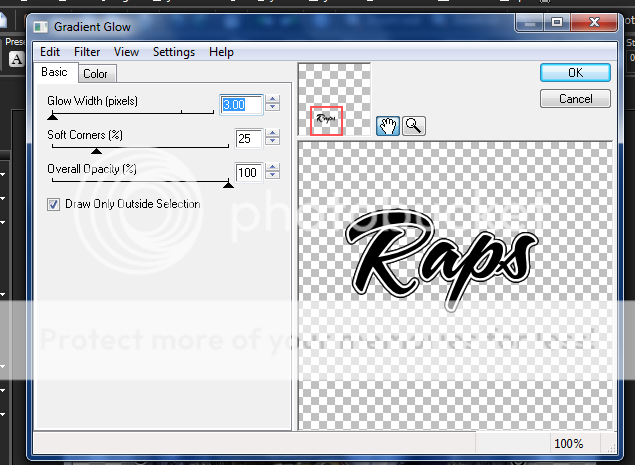
Now add your name in a font of choice I used a gradient glow and added a drop shadow settings that I used for both can be found in the screen-shots below.


Finally add your copyright and license number if applicable save as png or jpeg whichever you prefer and we're done!
I hope you enjoyed this tutorial and found it easy to follow.
Subscribe to:
Post Comments (Atom)


1 comments:
So does the frame come with the tube and you don't even say what the song is around the circle, I can't even read all of it, very frustrated here.
Post a Comment