


Sunday, October 3, 2010
Wicked Bitch

This tutorial was written by Brunette on October 3rd 2010. Any similarity to any other tutorial is purely coincidental.
Do not copy and paste my tutorials or claim as your own you may link to them for group challenges.
You'll need a tube of choice I am using the gorgeous art of Keith Garvey you can purchase his art to use for tags at MPT.
Eye Candy 4000 (optional)
Mura Meisters Copies
Mask of choice
Font of choice
Template 48 by Sapphy here. Thank you Sapphy!
A kit of choice I am using a gorgeous kit by Sarah over at Pimp my tags with Scraps called Sit a Spell.
Ready?
Let's get started!
Open up the template go to the Wickedest wordart layer selections-select all-float-defloat add a new raster layer and flood fill with a color of choice to match your tube. Select none, delete the original layer. Add a drop shadow to the glitter back layer.
On the small orange circle layer selections-select all-float-defloat flood fill with a color of choice then open up a paper of choice I used paper 10 from the kit. Paste as a new layer then selections-invert and hit delete. Change the blend mode to Luminance L and select none. Delete the original small circle layer.
On the back rectangle layers I added some words make sure you put the words in the center of the canvas. To do this go to objects-align-center in canvas then used Mura Meisters copies settings for the filter shown in the screen shot below. Then use you magic to select the rectangle the words are in then selections-invert making sure you are the words layer and hit delete. Then add your mask of choice. Repeat these steps for the other rectangle.

On the large orange circle layer selections-select all-float-defloat add a new raster layer and flood fill with a color of choice then open up a paper of choice I used paper 4 from the kit. Paste as a new layer then selections-invert and hit delete. Change the blend mode to Luminance L and select none.
On the orange glitter rectangle frame layer selections-select all-float-defloat flood fill with a color of choice add some noise and a drop shadow.
Colorize the mask layer to match your tube duplicate it and mirror or flip it and move it to another part of your canvas to make it show all over the tag.
Copy and paste your tube of choice duplicate and change the blend mode to soft light add a drop shadow to the original tube layer.
Open up whatever elements from your kit that you would like to decorate your tag with, I used the cauldron.
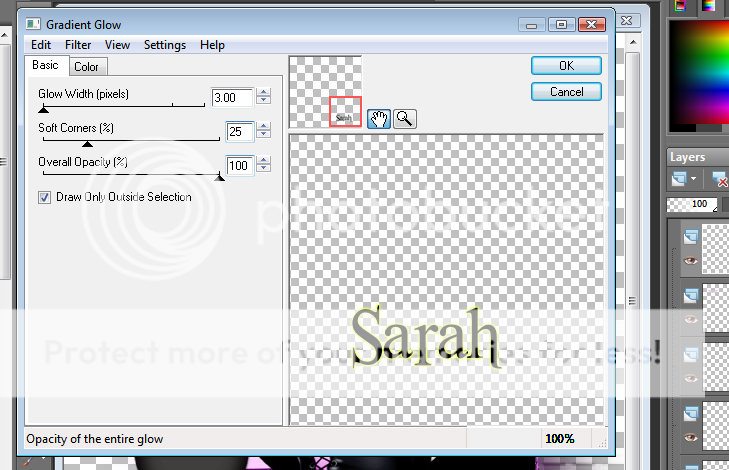
Add your name in a font of choice then add a gradient glow and a drop shadow of choice. My gradient glow settings are shown in the screenshot below.

Finally add your copyright and license number if applicable save as png or jpeg whichever you prefer and we're done!
I hope you enjoyed this tutorial and found it easy to follow.
Subscribe to:
Post Comments (Atom)


0 comments:
Post a Comment