


Friday, April 20, 2012
Spring
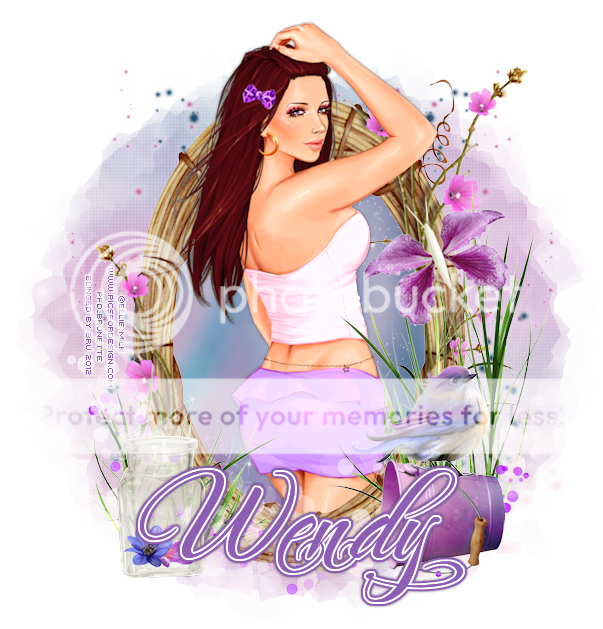
*Click the tag for full view*
This tutorial was written by Brunette on April 20th 2012.
Any similarity to any other tutorial is purely coincidental.
Do not copy and paste my tutorials or claim as your own you may link to them for group challenges.
What you'll need:
You'll need a tube of choice I am using a gorgeous tube by Ellie Milk which you can purchase at Pics For Design HERE.
Be sure to check out all the other great artists there!
Fonts of choice - I am using a pixel font for the copyright and Caramel Crunch for the name.
A simply GORGEOUS kit by Wendy Gerber called Spring Has Sprung. Which you can purchase at The PSP Project HERE.
Be sure to check out ALL the other awesome stuff by her and the other artists there!
Mask of choice - mine is from weescottlass creations which you can find HERE.
I used mask number 219 you'll see on the right side they are bundled in bulk downloads :)
Ready?
Let's get started!
Open up a 700x700 transparent canvas.
We can always crop/re-size later.
Open up element 46 from the kit which is a frame copy and paste it onto your canvas re-size it so it fits nicely but not TOO small. Take your magic wand and click inside the frame then go to selections-modify-expand by 3 then open up paper 6 from the kit but before you copy and paste it add a new layer then copy and paste it INTO the selection. Make sure this layer is below the frame.
Now open up your tube paste it where you would like it. Mine I wanted the bottom part in the frame and the rest outside it. So I duplicated the tube layer and moved it below the frame and the paper layer then took my eraser tool and erased the parts showing over the frame on the TOP tube layer.
Now take element 2 from the kit which is grass, copy and paste them as a new layer onto your canvas re-size them a little so they fit nicely. Mine are on each side of the frame.
Open up element 21 from the kit which is a flowered butterfly of sorts, copy and paste it as a new layer, re-size it and arrange it somewhere on your frame.
Take element 22 from the kit which is sparkly circles of some sort lol but pretty! Copy and paste that as a new layer over the grass you just did, re-size them so they fit nicely. Again mine is at the bottom part of the frame.
Take element 20 from the kit which is a jar with flowers in it copy and paste it as a new layer and re-size it so it fits nicely. I moved it to the left of my frame and duplicated it to make it stand out a little bit more.
Now take element 48 from the kit which is a pail/bucket copy and paste it as a new layer, re-size it so it fits nicely now we're going to rotate it 90 degrees to the left and place it on the right side of the frame. I used element 19 from the kit which is a bird re-sized it, copied and pasted it as a new layer and moved it so it was sitting on the pail.
Now take a paper from the kit I used paper 10 copy and paste it as a new layer and move it below EVERYTHING. Then add your mask. Merge group. I added element 43 which is sparkles to this layer duplicated then and mirrored them.
In your font and color of choice add your name then go to selections-select all-float-defloat-modify and expand by 2 add a new layer and flood fill with white, then go to selections-modify-expand by 2 and add a new layer flood fill that layer with the original text color and move it below the white layer. Add a drop shadow.
I used
H 0
V 0
Opacity 45
Blur 4.00
Color Black
Finally add your copyright and license number if applicable save as png or jpeg whichever you prefer and we're done!
I hope you enjoyed this tutorial and found it easy to follow.
I would LOVE to see your results to any tutorials that you do, you can email results to me or post them on my page on facebook if you have a facebook account.
Subscribe to:
Post Comments (Atom)


0 comments:
Post a Comment