


Tuesday, June 7, 2011
Loved
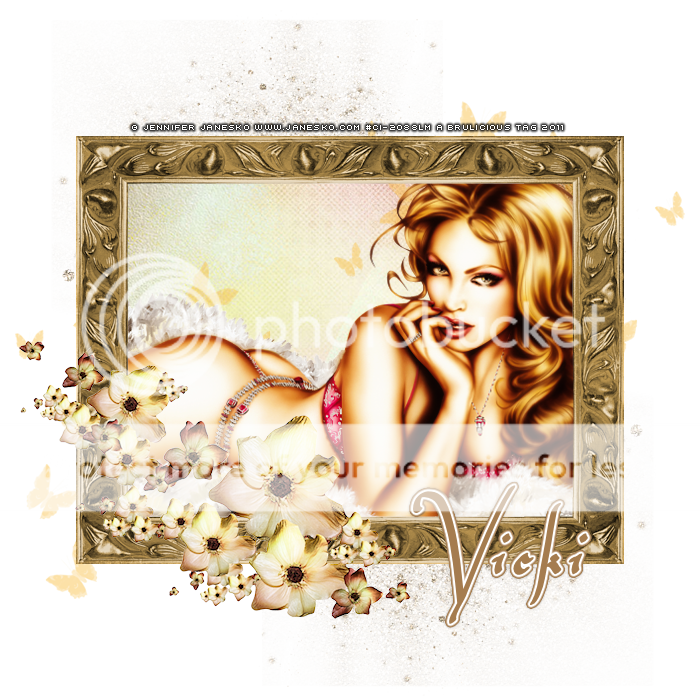
*Click the tag for a bigger view*
This tutorial was written by Brunette on June 7th 2011.
Any similarity to any other tutorial is purely coincidental.
Do not copy and paste my tutorials or claim as your own you may link to them for group challenges.
You'll need a tube of choice I am using the gorgeous art of Jennifer Janesko. You can purchase her art for signature tags at CDO. However I purchased mine at CILM when it was open.
AND while you're there be sure to check out the other awesome artists there!
Fonts of choice
Eye Candy 4000 - Gradient Glow
A kit of choice I am using a gorgeous kit called Forever Love by Gemini Creationz. You can find out where whe sells her gorgeous kits from her blog HERE.
Thanks SO much Vicki!
Ready?
Let's get started!
Open a new 700x700 canvas - we can always crop/re-size later!
From the kit open up frame 1 copy and paste it as a new layer onto your canvas. Next we're going to take your magic wand and select inside the frame then to go selections-modify-expand by 3 then open a paper or choice, I used paper 9 from the kit. Copy and paste it as a new layer you can re-size it a little if you want more of the colors to show then just the one then go to selections-invert and hit delete on your keyboard. Move this layer below the frame layer, DO NOT deselect yet! Open up your tube or image copy and paste it as a new layer move it below the frame layer BUT above the paper layer and hit delete just in case any overhangs the frame. Duplicate your tube layer then go to Adjust-Blur-Gaussian blur- 3 and change the blend mode to soft light.
Next I opened up flower 5 from the kit copy and paste it onto your canvas make sure its on the top not under the frame. Re-size it so it fits your tag nicely I moved mine to the bottom left of the frame but placement is up to you.
Next I used the butterfly accent copy and paste it as a new layer re-size it a little and move it down below the frame and tube layers but above the paper layer.
Open up the glitter splat copy and paste it as a new layer you can re-size it a tiny bit so it fits your canvas nicely move this layer to the very bottom of your palette. Move it to the top left then copy, mirror and flip the copied layer.
Now we're going to add your name with a gradient glow and a drop shadow my settings are shown in the screen-shots below.


Finally add your copyright and license number if applicable save as png or jpeg whichever you prefer and we're done!
I hope you enjoyed this tutorial and found it easy to follow.
Subscribe to:
Post Comments (Atom)


1 comments:
so awesome!!! XXXX
Post a Comment