


Wednesday, January 12, 2011
Tease


You'll need a tube of choice preferably one with a closeup.
I am using the gorgeous art of Elias Chatzoudis you can purchase his art to use for tags at MPT.Font of choice
Eye Candy 4000 - Gradient Glow
VanDerLee - Unplugged X
A kit of choice I am using a rockin' collab kit by Pimp'd Design and Designs by Sarah over at Pimp my tags with Scraps called Girlz Rock.
Ready?
Let's get started!
New Raster layer 700x700 we can re-size/crop later
Open up Frame 1 from Pimp'd's part of the kit paste it as a new layer.
Take your magic wand and select all the squares in the frame then selections-modify-expand by 3. Now open up a paper of choice I used paper 4 from Sarah's part of the kit then selections-invert and hit delete, move this paper layer below the frame layer but DO NOT deselect yet. Open up your tube closeup paste it as a new layer and hit delete. Duplicate and then mirror that copy.
I changed one copy's blend mode to Luminance L the other one I just colorized it so it was grey. Do what you think looks good for your tag.
Then I used VanDerLee - Unplugged X - Pattern Offset on the tube layers. Play around with the settings to get an effect you like.
Next we can copy and paste the tube duplicate it and change the blend mode of the duplicated copy to soft light then add a drop shadow to the original tube layer.
Now we can decorate your tag!
I used heart 4 from Pimp'd's part of the kit as well as beads1. I rotated the beads so they were vertical along the top and bottom of the tag. Remember to re-size these elements so they fit nicely on your tag. I also used the clipped flower from Sarah's part of the kit placing it at the top left corner then duplicating it, flipping and mirroring it. I used ribbon 5 and the sparklies from Sarah's part of the kit. Add drop shadows to everything but the beads and sparklies.
Add your name in a font of choice I used Velvenda Cooler its one of my favs!
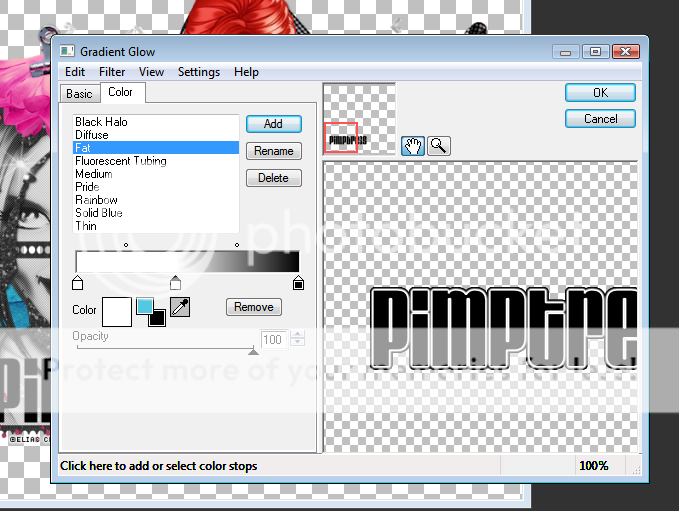
Add a gradient glow my settings shown in the screen shot below then add a drop shadow.

Finally add your copyright and license number if applicable save as png or jpeg whichever you prefer and we're done!
I hope you enjoyed this tutorial and found it easy to follow.
Subscribe to:
Post Comments (Atom)


0 comments:
Post a Comment