


Wednesday, March 28, 2012
Welcome Spring

*Click the tag to see it full view*
This tutorial was written by Brunette on March 28th, 2012.
Any similarity to any other tutorial is purely coincidental.
Do not copy and paste my tutorials or claim as your own you may link to them for group challenges.
What you'll need:
You'll need a tube of choice I am using the an awesome tube by Gretchen Raisch-Baskin which you can purchase at Up Your Art HERE.
A kit of choice. I am using a gorgeous spring kit by Mystical Illusionz called Spring Breeze which you can purchase at Scraps and the City HERE.
Fonts of choice - I am using a pixel font for the copyright and Amethyst Script for the name.
Ready?
Let's get started!
Open up a 700x700 canvas, we can always re-size/crop later.
Any similarity to any other tutorial is purely coincidental.
Do not copy and paste my tutorials or claim as your own you may link to them for group challenges.
What you'll need:
You'll need a tube of choice I am using the an awesome tube by Gretchen Raisch-Baskin which you can purchase at Up Your Art HERE.
A kit of choice. I am using a gorgeous spring kit by Mystical Illusionz called Spring Breeze which you can purchase at Scraps and the City HERE.
Fonts of choice - I am using a pixel font for the copyright and Amethyst Script for the name.
Ready?
Let's get started!
Open up a 700x700 canvas, we can always re-size/crop later.
Open up element 15 from the kit its a frame, copy and paste it as a new layer onto your canvas. Now take your magic wand and click inside the frame then to go selections-modify-expand and put in 3 then hit ok.
Now open up a paper of choice I used paper 10 re-size it if you want and place it where you think it looks best in the frame, then go to selections-invert then hit delete on your keyboard to erase everything outside the frame then deselect.
Open up elements 25 and 26 copy and paste them as a new layer under the frame but ABOVE the paper layer. Re-size these so they fit nicely in the frame. I duplicated the rainbow to make it a little darker.
Open up element 27 copy and paste it as a new layer at the very bottom of your frame re-size it if you need to.
I also used the bunny and put it off to the side a bit re-sizing it a bit too.
Copy and paste your tube as a new layer arrange it to your liking on the tag add a light drop shadow I used
H - 0
V- 0
Opacity - 45
Blur - 4.00
Now in your font of choice we're going to add your name along with a gradient glow shown in the screen-shot below.
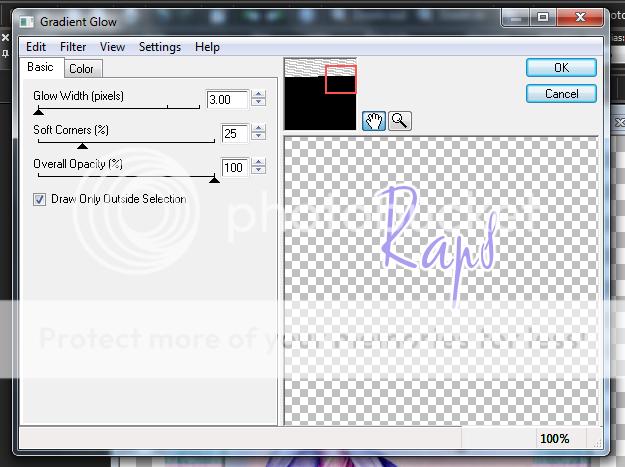
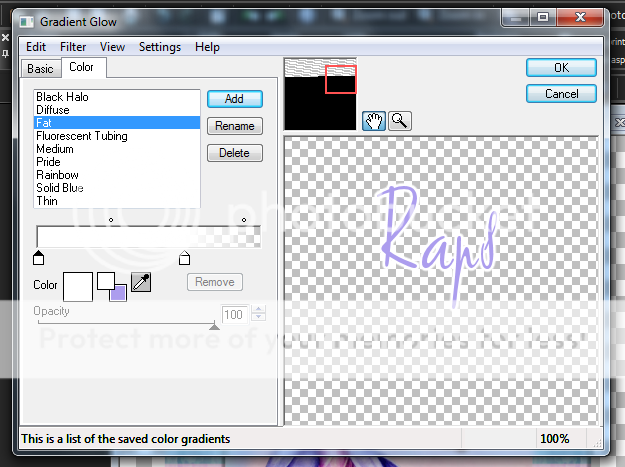
Add a drop shadow I used
H - 2
V - 2
Opacity - 45
Blur - 4.00
Finally add your copyright and license number if applicable save as png or jpeg whichever you prefer and we're done!
I hope you enjoyed this tutorial and found it easy to follow.
I would LOVE to see your results to any tutorials that you do, you can email results to me or post them on my page on facebook if you have a facebook account.
Sunday, March 11, 2012
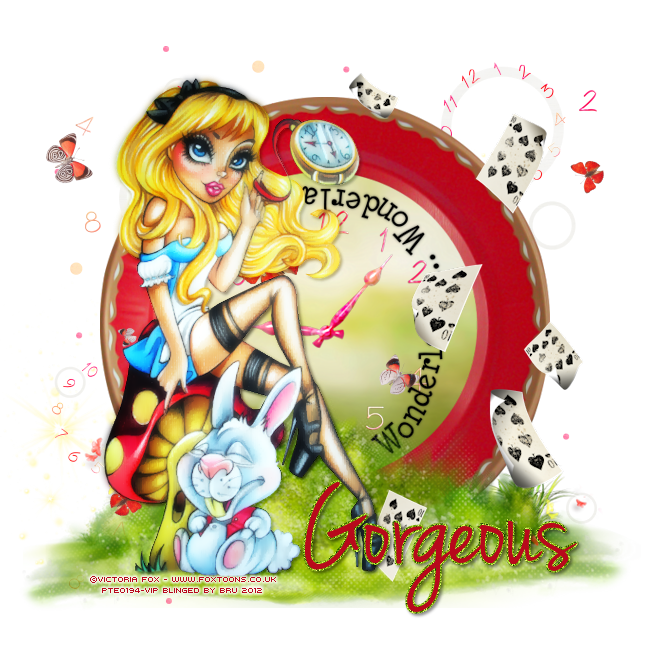
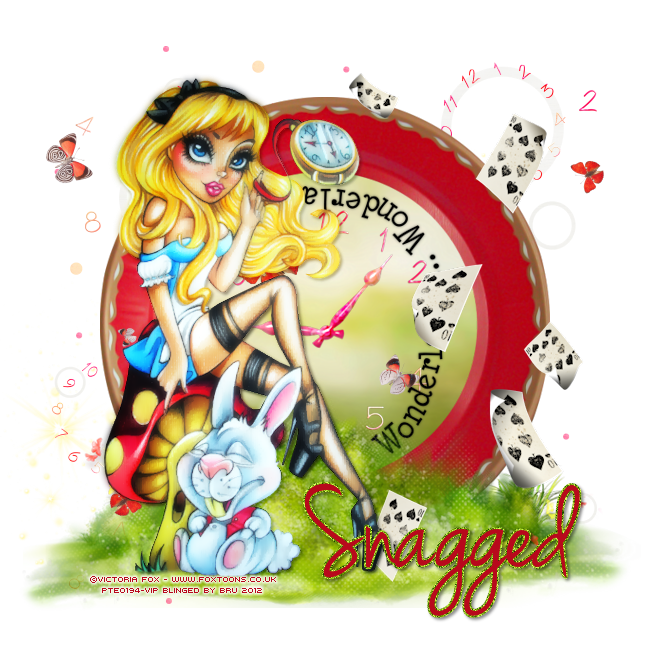
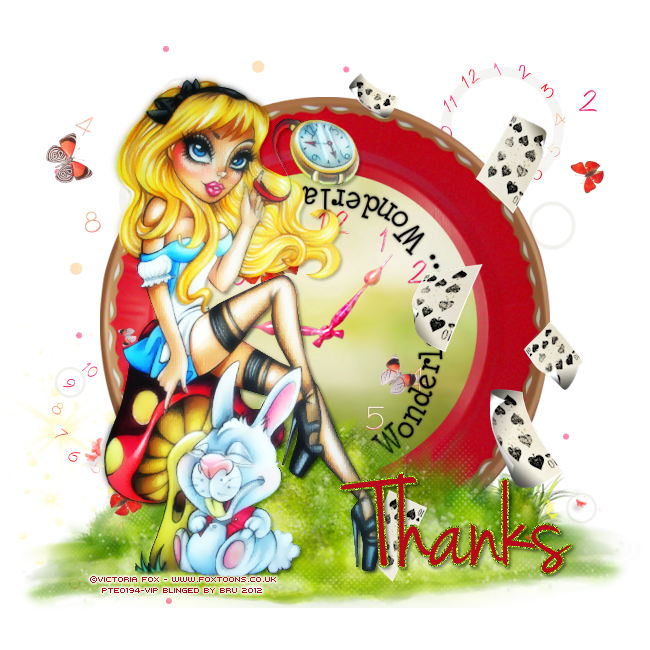
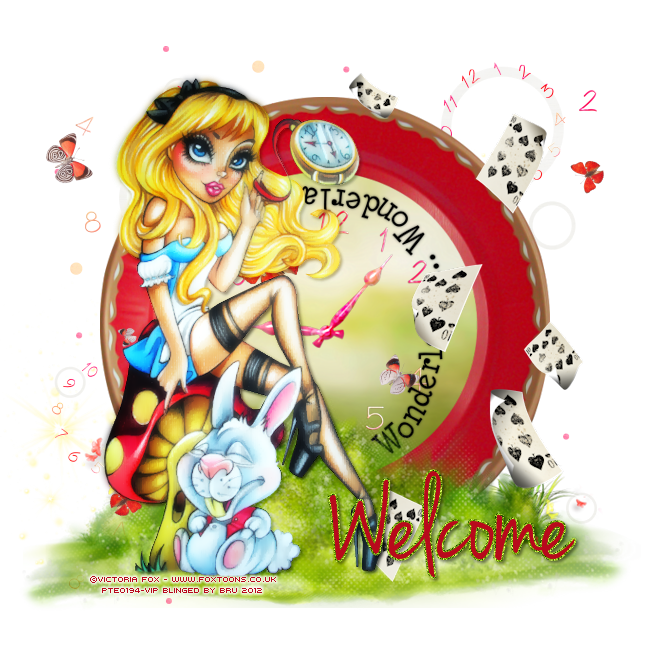
Wonderland Snags!
I have some new snags for you!
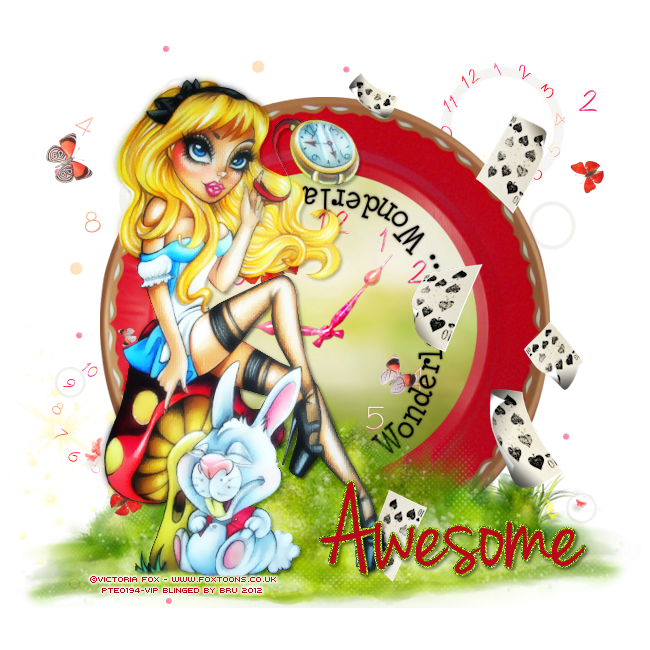
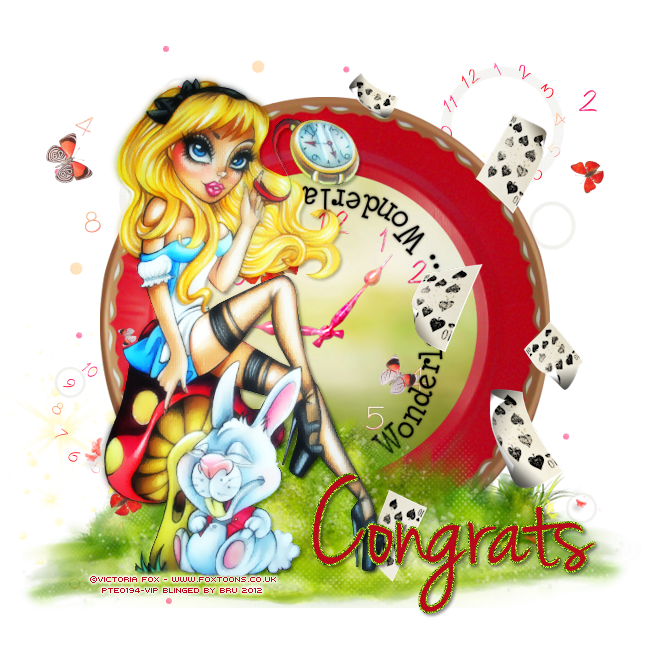
These snags use the awesome art of Victoria Fox which you can purchase at PSP Tubes Emporium and a gorgeous PTU scrap kit by Wicked Princess Scraps called Mad As a Hatter.
Enjoy!
*click the tag to see full size view*
Tuesday, March 6, 2012
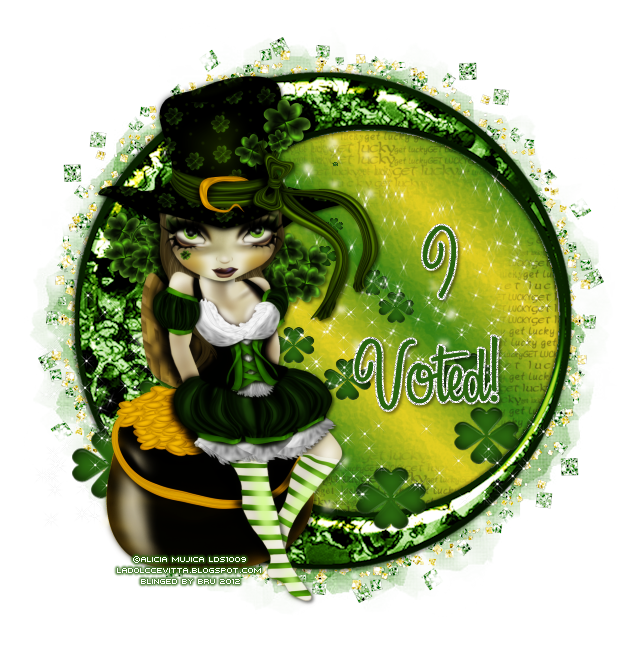
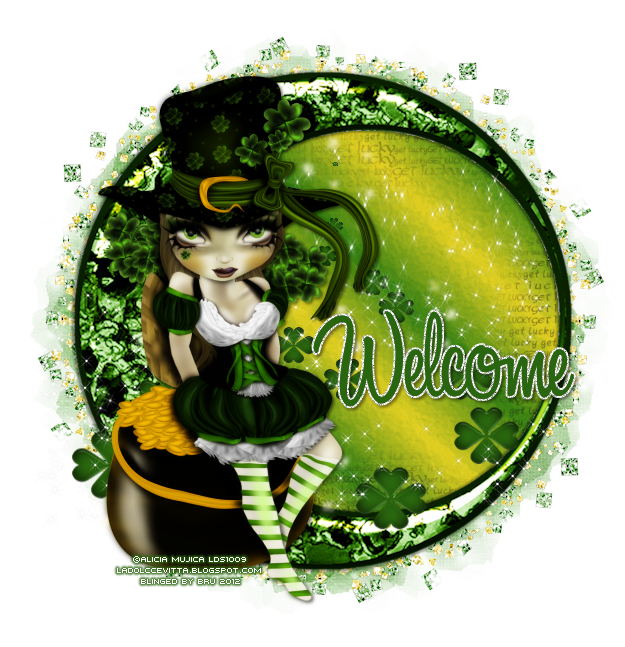
Get Lucky Snags!
Here are some snags using a gorgeous tube by Alicia Mujica which you can purchase here at PSP Tubes Emporium.
A gorgeous kit by Rabid Deisgnz called Get Lucky which you can purchase HERE
You can also view her blog HERE
Enjoy!
*click the tags for FULL view*


Friday, February 24, 2012
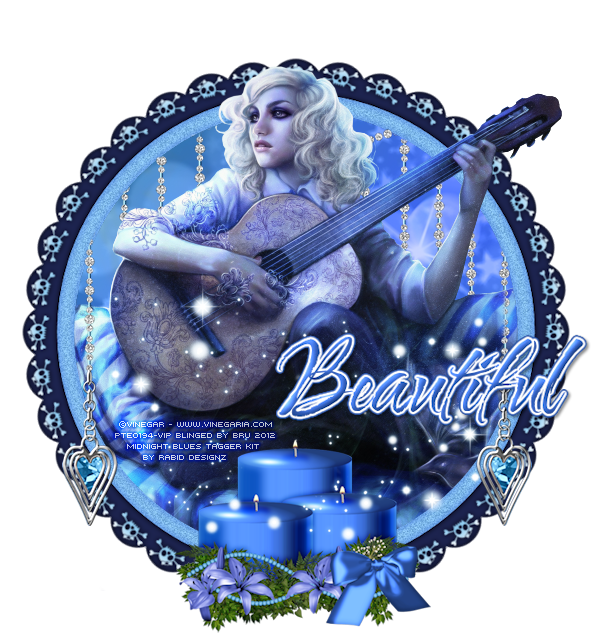
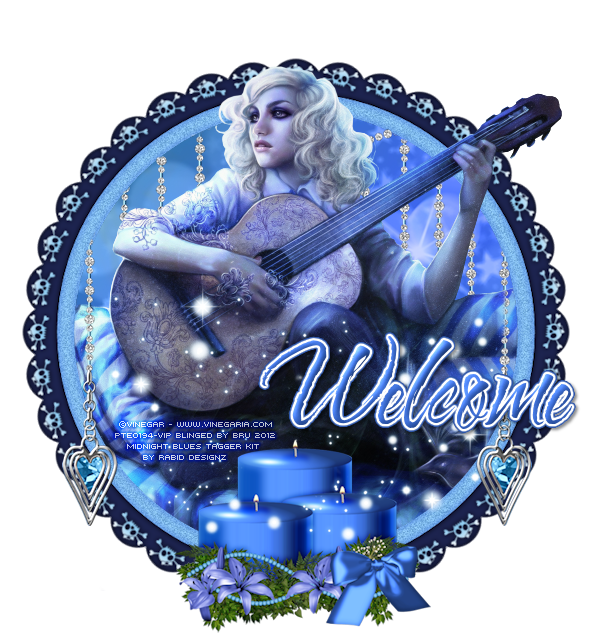
Midnight Blue Snags!
Here are some more snags using a gorgeous tube by Vinegar which you can purchase here at PSP Tubes Emporium.
A gorgeous kit by Rabid Deisgnz which you can purchase HERE she's having a SALE so grab it while you can!
You can also view her blog HERE
Enjoy!
*click the tags for FULL view*


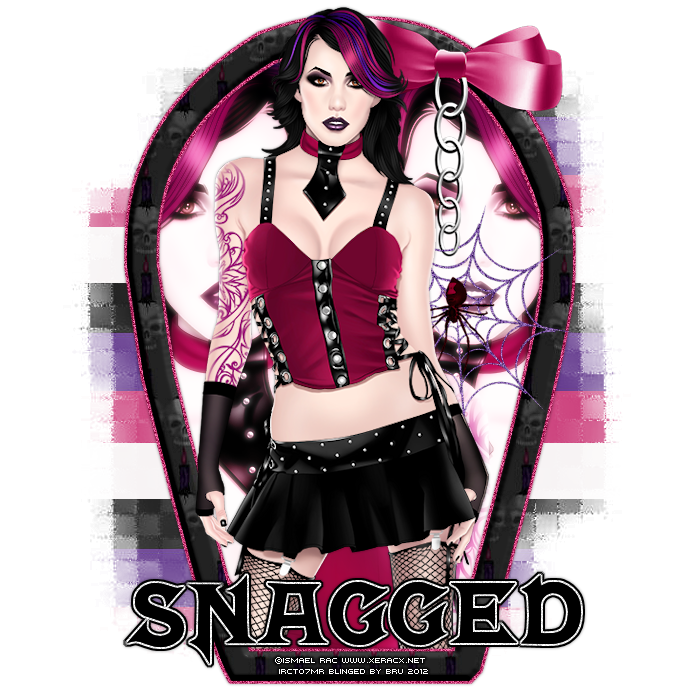
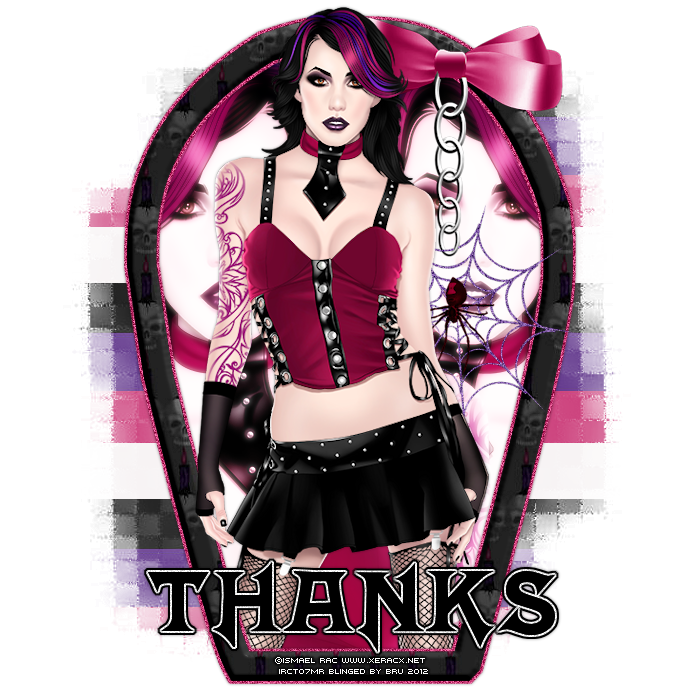
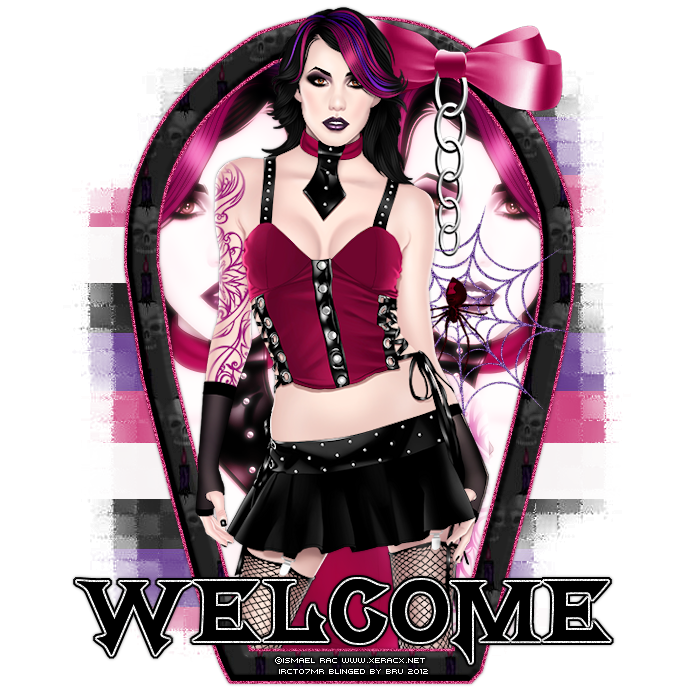
Dark Goth Love Snags!
I have some snags for you YAY!
Using the awesome art of Ismael Rac.
This tube is an LE tube you can find out more info about how to get it HERE
I hope you enjoy these snags and find them useful!
*click the tags for FULL view*
Sunday, February 12, 2012
Dark Love Forum Set


*Click the tag to see it full view*
This tutorial was written by Brunette on February 12, 2012.
Any similarity to any other tutorial is purely coincidental.
Do not copy and paste my tutorials or claim as your own you may link to them for group challenges.
What you'll need:
You'll need a tube of choice I am using the an awesome tube by Ismael Rac which you can purchase at his store HERE. This tube is however a bonus tube all the info is on the store site if you'd like this tube. I am also using the kit that comes with the HD Plus pack for this particular bonus tube.
Fonts of choice - I am using a pixel font for the copyright and Dartangnon-ITC for the name.
Ready?
Let's get started!
Open up a new canvas 650x200 we're going to make a forum set.
This tutorial was written by Brunette on February 12, 2012.
Any similarity to any other tutorial is purely coincidental.
Do not copy and paste my tutorials or claim as your own you may link to them for group challenges.
What you'll need:
You'll need a tube of choice I am using the an awesome tube by Ismael Rac which you can purchase at his store HERE. This tube is however a bonus tube all the info is on the store site if you'd like this tube. I am also using the kit that comes with the HD Plus pack for this particular bonus tube.
Fonts of choice - I am using a pixel font for the copyright and Dartangnon-ITC for the name.
Ready?
Let's get started!
Open up a new canvas 650x200 we're going to make a forum set.
Go to layers and add a new layer flood fill this layer with a background/foreground colors from your tube.
Copy and paste your tube as a new layer arrange it to your liking on either end of the canvas duplicate it and mirror it so its on the other side as well. You can re-size it if you want and do this till the canvas is full or just leave your tube as is we're going to copy it again later in the middle anyhow so its up to you. Merge them together and change the blend mode to Luminance L.
Open up paper 1 from the kit copy and paste it as a new layer arrange it to your liking I moved it over to get some white where I wanted since its a stripped paper then duplicated and mirrored it. Change the blend mode of these layers to soft light. I didn't merge these layers because it effects the blend mode I used.
Now I used elements 9 and 10 from the kit they're suckers re-sized them placed them in the middle on each side with a rotation to the left or right depending which you want where of 25%.
Copy and paste your tube as a new layer re-size it a little if you need or want to then arrange it in the middle of your canvas. Duplicate it then go to adjust-Blur-Gaussian Blur set to 3 and change the blend mode to soft light.
Now we're going to do the borders. Go to the very bottom layer of your canvas it should be blank click it then go to selections-modify-contract by 4 then invert add a new layer flood fill with a color of choice then add some noise if you like. Arrange this layer so its at the top of your layers. Repeat these steps but change the number you contract by to 2.
In your font of choice add your name I used the color black but that is up to you and the colors in your tag. Then go to selections-select all-float-defloat-modify-expand by 2 add a new layer flood fill this in a color of choice DO NOT DESELECT YET go to modify-expand by 2 again then add another new layer flood fill that layer in a different color I used black. Move the first layer you flood filled below the text and the second one you flood filled below that. I hope that makes sense LOL. I also added some noise to the first flood filled layer but that is up to you.
Now for the avatar all I did was open up a new canvas 150x150 closed off the border layers and copyright layers on my banner then copy merged and pasted it as a new layer on the 150x150 canvas. Arrange it to your liking even re-size it a little if you want. Then again go to the bottom layer then go to selections-modify-contract by 4 then invert add a new layer and flood fill with the same color as you did on the banner. Arrange this layer so its at the top of your layers. Repeat these steps but change the number you contract by to 2.
Finally add your copyright and license number if applicable save as png or jpg whichever you prefer and we're done!
I hope you enjoyed this tutorial and found it easy to follow.
I would LOVE to see your results to any tutorials that you do, you can email results to me or post them on my page on facebook if you have a facebook account.
Wednesday, December 28, 2011
Dreams

*Click the tag to see it full view*
This tutorial was written by Brunette on December 28th 2011.
Any similarity to any other tutorial is purely coincidental.
Do not copy and paste my tutorials or claim as your own you may link to them for group challenges.
What you'll need:
You'll need a tube of choice I am using the a tube by Lori Karels. You can purchase her art for signature tags at Up Your Art HERE.
Be sure to check out all the other great artists there!
Fonts of choice - I am using a pixel font for the copyright and Jenna Sue for the name.
A kit of choice I am using gorgeous kit by TLP Designz called Autumn Dreams and is available for purchase at Taggers Delight HERE.
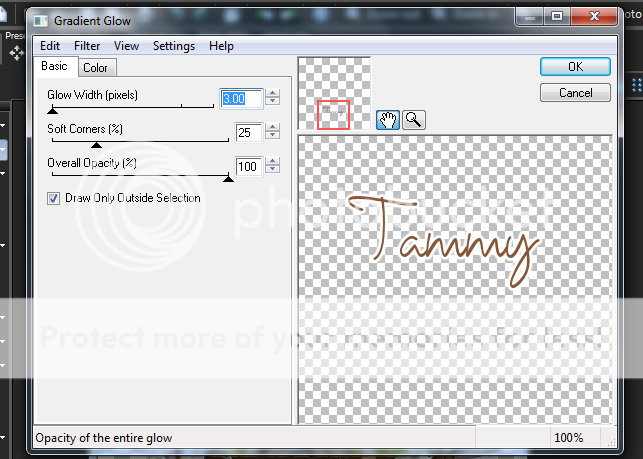
Eye Candy 4000 - Gradient Glow
Mask of choice - mine is from weescottlass creations which you can find HERE.
I used mask number 208 you'll see on the right side they are bundled in bulk downloads :)
Ready?
Let's get started!
Open up a new 700x700 transparent canvas I always crop it later so it will be smaller I just like enough room to work.
Any similarity to any other tutorial is purely coincidental.
Do not copy and paste my tutorials or claim as your own you may link to them for group challenges.
What you'll need:
You'll need a tube of choice I am using the a tube by Lori Karels. You can purchase her art for signature tags at Up Your Art HERE.
Be sure to check out all the other great artists there!
Fonts of choice - I am using a pixel font for the copyright and Jenna Sue for the name.
A kit of choice I am using gorgeous kit by TLP Designz called Autumn Dreams and is available for purchase at Taggers Delight HERE.
Eye Candy 4000 - Gradient Glow
Mask of choice - mine is from weescottlass creations which you can find HERE.
I used mask number 208 you'll see on the right side they are bundled in bulk downloads :)
Ready?
Let's get started!
Open up a new 700x700 transparent canvas I always crop it later so it will be smaller I just like enough room to work.
Open up frame 5 from the kit copy and paste it as a new layer onto your canvas, re-size it if you need to. Now take your magic wand and click inside the frame then go to selections-modify-expand by 3. My tube came with an image which included the background so I pasted that in there and then went to selections-invert and hit delete. You can use a paper of choice if you don't have an image like mine. Duplicate it then go to adjust-blur-Gaussian blur set to 3 and change the blend mode to soft light.
Now copy and paste your tube itself as a new layer ABOVE the frame layer I sized mine and lined it up so it went with the image in the frame. Duplicate your tube layer then go to adjust-blur-Gaussian blur set to 3 and change the blend mode to soft light.
Open up flower 1 from the kit copy and paste it as a new layer re-size if you need to and place it at the bottom left of the frame, duplicate it move this layer to the other side of the frame.
Open up dragonfly 2&3 from the kit copy and paste them as a new layer re-size if you want to and place one on each flower.
Now for the background open up paper 7 from the kit copy and paste it as a new layer onto your canvas re-size it a little then add your mask. Duplicate your mask layer change the blend mode to screen.
Now in your font of choice we're going to add your name along with a gradient glow and a drop shadow settings for both of these are shown in my screen-shots below.


Finally add your copyright and license number if applicable save as png or jpeg whichever you prefer and we're done!
I hope you enjoyed this tutorial and found it easy to follow.
I would LOVE to see your results to any tutorials that you do, you can email results to me or post them on my page on facebook if you have a facebook account.
Subscribe to:
Posts (Atom)


